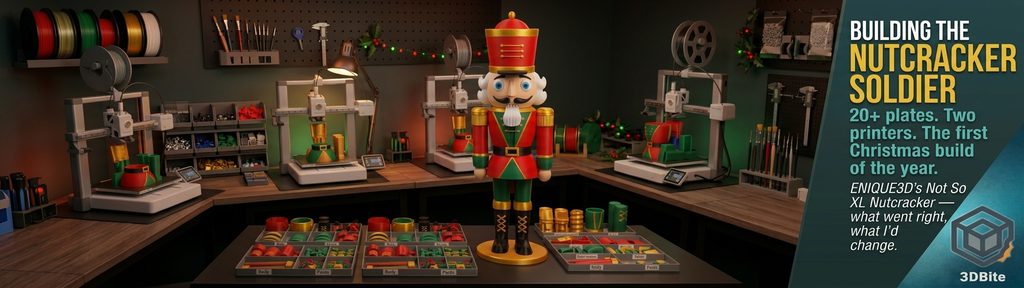
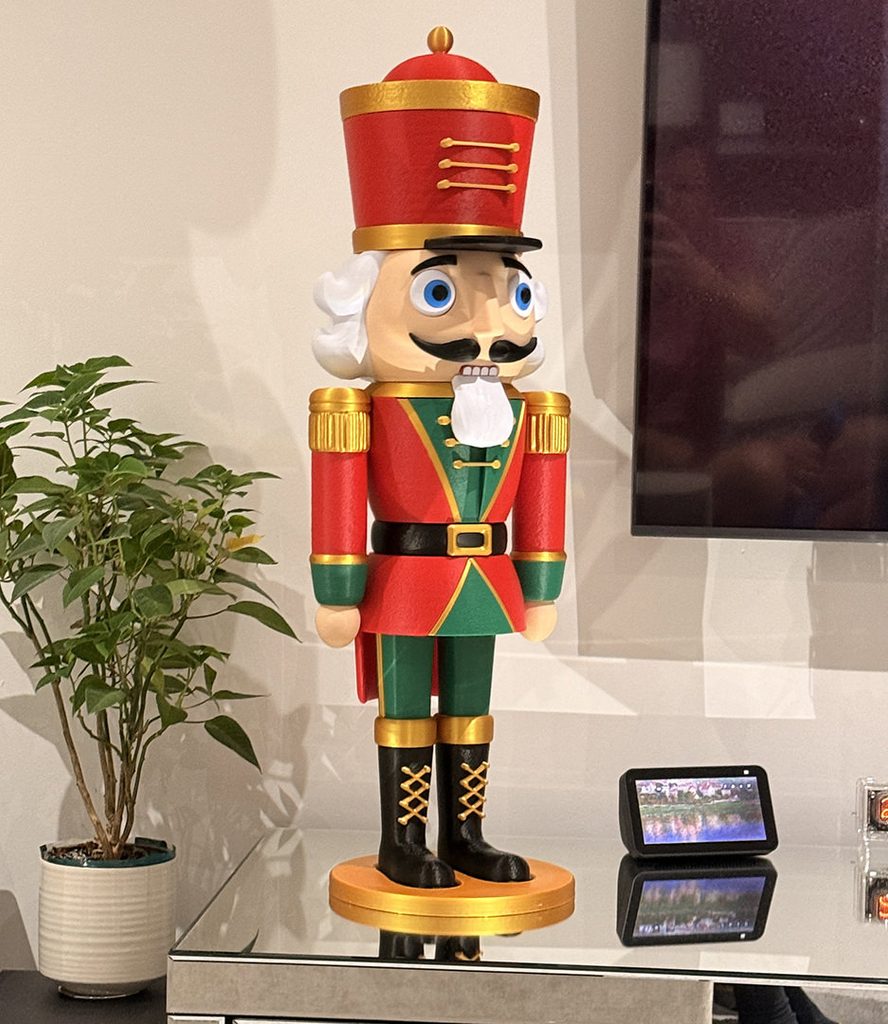
The Christmas builds have started, and the Not So XL Nutcracker Soldier from ENIQUE3D is the first one off the plate for this season. Standing at roughly 70cm once assembled, this is the same UK-based designer whose seasonal XL-scale figures have been a genuinely good fit for the two-printer workflow this site has built up over the past few months, and the Nutcracker is a strong opening build for the year — a proper classic toy-soldier silhouette, tall shako-style hat, red and gold military detailing, executed as a genuinely large multi-part build rather than a small desk ornament.
Why the Not So XL scale, again
ENIQUE3D releases the larger seasonal figures in two scales, following the same naming pattern across the catalogue — a full XL version sized for machines with genuinely large build plates, and a Not So XL version scaled specifically to fit smaller plates like the A1’s 256mm bed. Exactly as with the earlier reasoning behind sizing choices on this site, going with the Not So XL scale here was a deliberate two-printer decision rather than a compromise on size. Every part at this scale fits comfortably on both the A1 and the A2L, which meant the full print run could be split across both machines running in parallel rather than being locked to whichever single printer happened to have the larger bed. For a build of this scale, having two machines genuinely contributing simultaneously is the difference between a project that takes a few days and one that stretches out considerably longer.
The colours
Bambu Lab’s own PLA Basic in red, mistletoe green, white, and black covered the bulk of the uniform — the classic nutcracker colour scheme, with red for the jacket and hat, green for trim, white for detailing, and black for the boots and belt. Tinmorry silk gold handled the accent work, exactly the kind of application silk PLA is genuinely suited to as covered in the silk PLA post — buttons, braid trim, and any small decorative detail where a bit of genuine shine lifts the finished piece rather than everything reading as flat matte plastic. A nutcracker without gold trim would look like a plain toy soldier rather than the genuine article, and the silk finish on those specific accents is doing real work for how convincingly the finished figure reads at a glance.
The scale of the print run
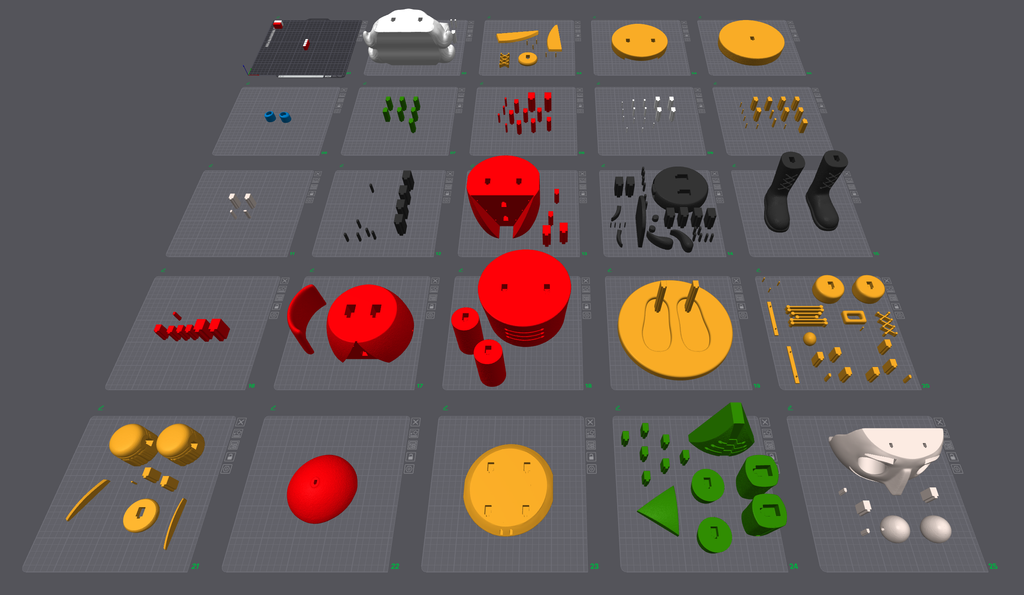
Just over 20 plates across the two machines and around 3kg of filament by the time the last part came off the bed — a genuinely substantial build, in the same territory as the largest seasonal projects covered on this site. ENIQUE3D’s equivalent XL-scale nutcracker release is documented as having well over 100 individual parts to assemble, and a Not So XL build of similar complexity sits in that same range. Managing a print run this size properly meant the same discipline covered in the unattended printing safety post — planning which plates suited an overnight run and which were short enough to slot into a normal day, then running both machines in parallel across several days rather than trying to force the whole thing through in one continuous session. With a build this large, that planning step is not optional. It is the only way a project like this actually gets finished in a sensible timeframe rather than dragging on indefinitely.
The connector system
ENIQUE3D’s assembly system across the XL and Not So XL seasonal range uses a keyed connector approach — multiple distinct connector sizes and types, with spares of the commonly used ones included in the file set, specifically because a build with this many joints will inevitably have at least one connector go missing or get damaged during printing or handling. The equivalent XL Nutcracker documentation from the same designer notes that connecting pieces come in two tolerance variants — a tighter 0.15mm fit and a looser 0.2mm fit — specifically to account for the fact that different printers, even within the same brand and model, can have slightly different real-world tolerances once calibration, wear, and filament variation are all factored in. The designer’s own recommendation is to print one small test part and its matching connector first, check the fit, and switch tolerance variants if the default feels too tight rather than forcing a fit that risks cracking a finished part during assembly. That small-scale test-fit habit is worth adopting on any large connector-based build before committing an entire plate’s worth of parts to a fit that might not actually be right for your specific machine.
What went well
This was a genuinely enjoyable build, and it is a strong way to open the seasonal print queue for the year. The scale of the finished piece at 70cm makes it a genuine centrepiece rather than a shelf accessory, and running the print across both machines properly, rather than defaulting to just the A1 out of habit, meant the whole project moved at a pace that kept the momentum going rather than feeling like a slog by the halfway point.
What I would change next time
The honest note to carry forward into the rest of this season’s builds: the support interface settings needed attention, and some supports came off considerably more reluctantly than they should have. This is exactly the trade-off covered in the support settings post — Top Z distance and interface layer count are the two settings that decide whether a support releases cleanly or fights you for it, and the profile used here clearly erred a little too far toward strong bonding over easy removal for this particular model’s geometry. Across 20-plus plates, even a small amount of extra removal effort per part adds up to real time by the end of the build. For the next large seasonal project, testing a slightly increased Top Z distance and a reduced interface layer count on a single plate before committing the setting across the whole run is the specific change worth making.
Prep before assembly also took longer than expected, and it is worth planning for that properly on a build of this size rather than assuming it will be a quick step once printing wraps up. With well over a hundred individual pieces to sort, clean, and organise by section before assembly can even begin, treating the sorting stage as its own dedicated task — ideally done incrementally as each plate finishes over the multi-day print run, rather than left as one long job at the very end — is the better approach for the rest of this season’s queue.
The season ahead
The Nutcracker Soldier is the opening build of what looks set to be a genuinely busy Christmas print season on this desk, and the two-printer workflow that made this project manageable is exactly the payoff from the reasoning behind the A2L purchase covered back in the A2L first impressions post. A build of this scale simply would not have been realistic on the A1 alone within any sensible timeframe. ENIQUE3D’s Patreon is at patreon.com/ENIQUE3D for anyone considering something similar for their own seasonal queue, and with support settings dialled in a little better for the next one, the rest of this year’s Christmas builds should move even more smoothly than this one did.