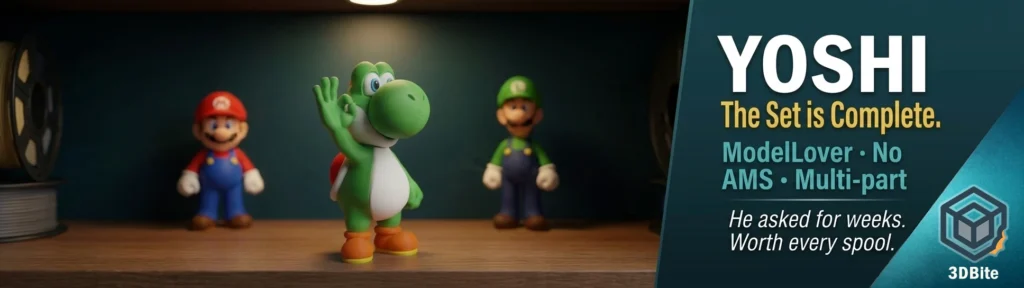
The Mario and Luigi figures went on my godson’s shelf in the earlier post and they have stayed there ever since. Which is both the best possible outcome and, as it turns out, the beginning of a list. Within a week of those figures being delivered, the question arrived: could I print a Yoshi? He has been asking for weeks. Yoshi was not optional at that point.
Fortunately, ModelLover on MakerWorld — the same designer behind Mario and Luigi — has already designed Yoshi to match the series exactly. Same scale, same no-AMS multi-part approach, same eye alignment spike system. The three figures form a proper matching set, which is clearly the intention and clearly the trap. Once you have Mario and Luigi, not printing Yoshi is the harder decision.
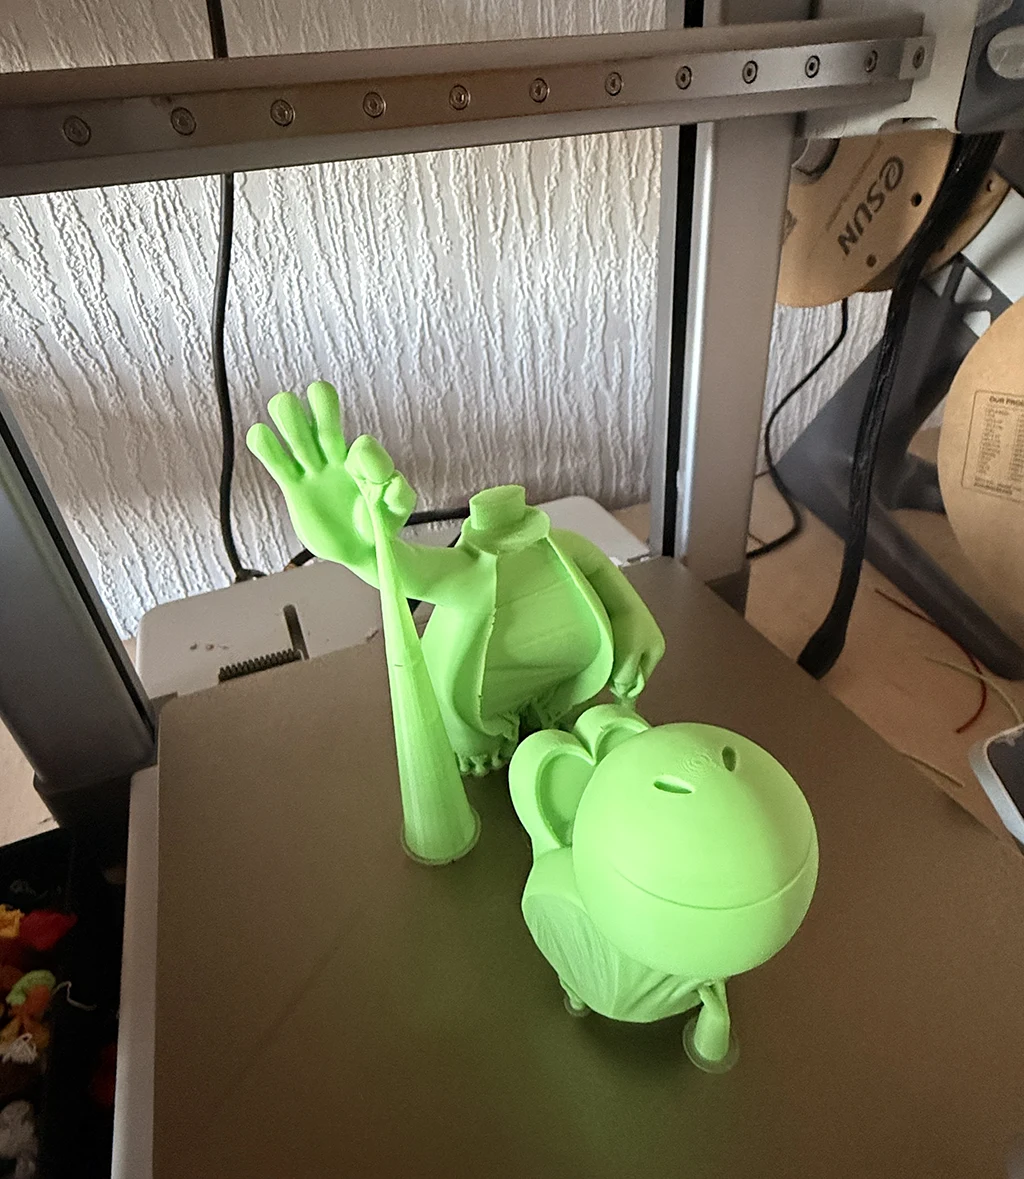
Compared to the Mario and Luigi builds, Yoshi is a relatively straightforward print. Fewer colour jobs, simpler geometry on most parts, and a colour set that is easier to source. This one also gave me the opportunity to put both printers to work simultaneously — the Bambu A1 and the newly acquired Anycubic Kobra X running different colour jobs at the same time. The two-printer setup made its first practical contribution here.
The model
The Yoshi Super Mario No AMS model is free on MakerWorld, designed by ModelLover. At approximately 23 cm tall — matching the Mario and Luigi figures exactly — Yoshi is designed from the ground up as part of the same series. The proportions, the scale, and the assembly approach are all consistent with the other two figures, which means the three can be displayed together without any visual mismatch.
Like the Mario and Luigi builds, the model is split into individual parts per colour. Each colour is a separate print job, the parts slot and glue together during assembly, and no AMS is required at any stage. The eye system uses the same spike alignment feature as the other figures — a locating spike that lets you find the correct position before committing to glue. Follow the same eye assembly discipline here as on the Mario and Luigi builds: take your time, get symmetry right before gluing, remove the spike, and fix in stages.
ModelLover deserves the boost on MakerWorld. The series is free, well-designed, and increasingly complete. If you print any of these figures, leave a boost on the model page.
Filament colours
- Green — body, head, limbs. The dominant colour by a significant margin. eSun PLA+ green (I used light green at my godson’s request!)
- White — underbelly, eyes. eSun Basic
- Orange — shoes/boots. eSun PLA+
- Black — pupils. eSun PLA Basic
- Red — Shell. Bambu Lab PLA Basic
- Yellow – Shoes. eSun PLA+
Yoshi’s colour set is more straightforward than Mario or Luigi — fewer distinct colours and the dominant green covers most of the model’s surface area. The green spool will take most of the job. Make sure you have enough on hand before starting — running out of the dominant colour mid-build and trying to colour-match from a second spool is the problem most worth preventing here. One full spool of green is a safe starting allocation.
Print settings
| Setting | Value used | Notes |
|---|---|---|
| Filament | eSun PLA+ throughout | Consistent brand across all colour jobs on both machines |
| Layer height | 0.2 mm base / Variable Layer Height applied | VLH drops to 0.08–0.12 mm on domed sections — head, shell, rounded limbs |
| Infill | 15% | Display piece. No structural requirement |
| Supports | Tree supports on overhanging sections | Shell back and some limb geometry benefits from support |
| Support top Z distance | 0.275 mm | Standard for clean release on visible supported surfaces |
| Cooling | Standard PLA profile | No changes needed on either machine |
| Nozzle temp | 220°C | Standard eSun PLA+ |
| Bed temp | 55°C | Textured PEI on both machines |
Using both printers
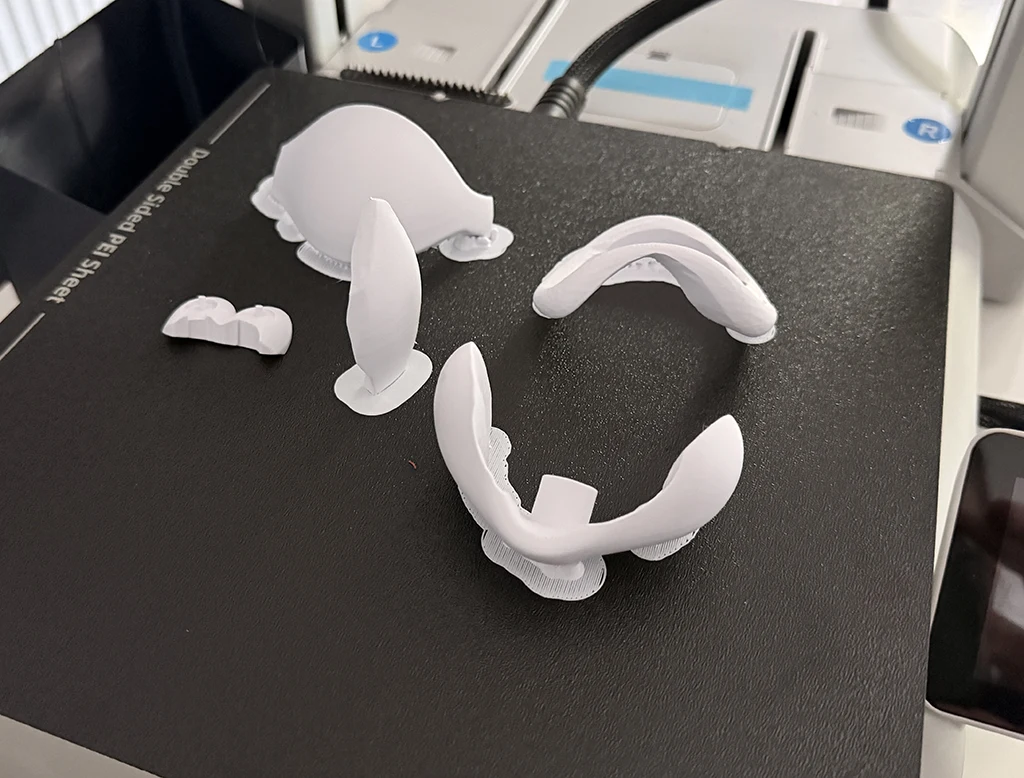
This is where having the Kobra X on the desk alongside the A1 made its first genuine practical contribution. With two colour jobs that could run simultaneously — the green body sections on one machine and the white underbelly and eye parts on the other — the overall build time was reduced considerably compared to running everything sequentially on a single machine.
The workflow was straightforward: identify which colour jobs do not share a spool, assign them to separate machines, and run them in parallel. The green went on the A1 and the white ran on the Kobra X simultaneously. The Kobra X handled it cleanly on its first multi-colour job on the bench — same eSun PLA+ profile, same bed temp, same layer height. Consistent results across both machines, which is the outcome you want when parts from two different printers need to assemble into a single figure.
The time saving from running two machines in parallel on a multi-colour figure build is meaningful. It does not halve the total time — there are always jobs that depend on a spool loaded on a specific machine, or parts where the total job count on both machines is uneven — but on a five-colour build with several sizeable green jobs, having a second machine available reduced the overall project timeline noticeably. This is one of the clearer arguments for a second printer when the first is already well-used.
Variable Layer Height on Yoshi
As covered in the Mario and Luigi post, Variable Layer Height makes a visible difference on the domed and rounded sections of these figures. Yoshi has significant curved geometry — the rounded head, the domed shell on his back, the spherical elements of the face — all of which benefit from the adaptive layer approach dropping to 0.08–0.12 mm in those areas while maintaining 0.2 mm on the straighter sections.
The process is identical to the Mario and Luigi workflow: click Adaptive in Bambu Studio’s Variable Layer Height panel, run Smooth two or three times, check that the thinner layer zones are sitting on the curved sections you care about, and slice. The print time increase on the green body sections is noticeable but the surface quality on the head and shell is meaningfully better than a flat 0.2 mm layer height produces. For a figure that will sit on a shelf alongside two already-smoothed figures, the consistency matters.
Assembly
Yoshi’s assembly is simpler than Mario or Luigi. The colour set is less complex, the number of distinct sub-assemblies is lower, and the geometry of the main body sections is more forgiving during joining. The same dry-assembly-before-gluing discipline applies — lay out all parts, confirm orientation and fit, then work through the join sequence methodically. The body and head sections are the main structural joins. The limbs and shoe sections follow, and the face and eye details are the last step.
The eye system is the part that requires the most patience regardless of which figure in the series you are building. The spike locator approach works well — find the correct position, note it, remove the spike, glue in stages. Do not rush the eyes. They define the expression of the finished figure and Yoshi’s large, expressive eyes are particularly prominent at this scale. Mis-aligned eyes on a 23 cm figure are immediately visible from across the room.
Superglue applied with a cocktail stick for small parts, CA gel for the larger body joins where a few seconds of working time helps alignment. Let each join set fully before adding parts that put mechanical stress on it.
Scale of the project
Compared to the Mario and Luigi builds, Yoshi is a quicker project — fewer colour jobs, simpler geometry, and the parallel printing on two machines helped considerably. Realistically, a focused weekend with both printers running gets you to the assembly stage. The assembly itself is an evening’s work once all parts are printed and identified. This is not a multi-day project at the scale of the Grinch or Rudolph — it is a two-session build that delivers a complete figure ready to display.
Result
Yoshi is now on the shelf alongside Mario and Luigi, and the three figures look exactly as they should as a matching set. The scale consistency across all three is one of the things ModelLover has clearly prioritised in the series design — they sit together as a cohesive group rather than three separately sourced figures that happen to share a theme.
My godson’s reaction was everything you hope for. The questions have already started about what comes next in the series. That is both the reward and the problem with printing things people love — the list only ever gets longer.
Model file
- Yoshi Super Mario No AMS — Free on MakerWorld by ModelLover
- Super Mario — Free on MakerWorld by ModelLover
- Luigi — Free on MakerWorld by ModelLover
All three models are free. Give ModelLover a boost on MakerWorld — the series is well-executed and the consistency across the figures shows that the design work has been deliberately coordinated rather than produced in isolation.