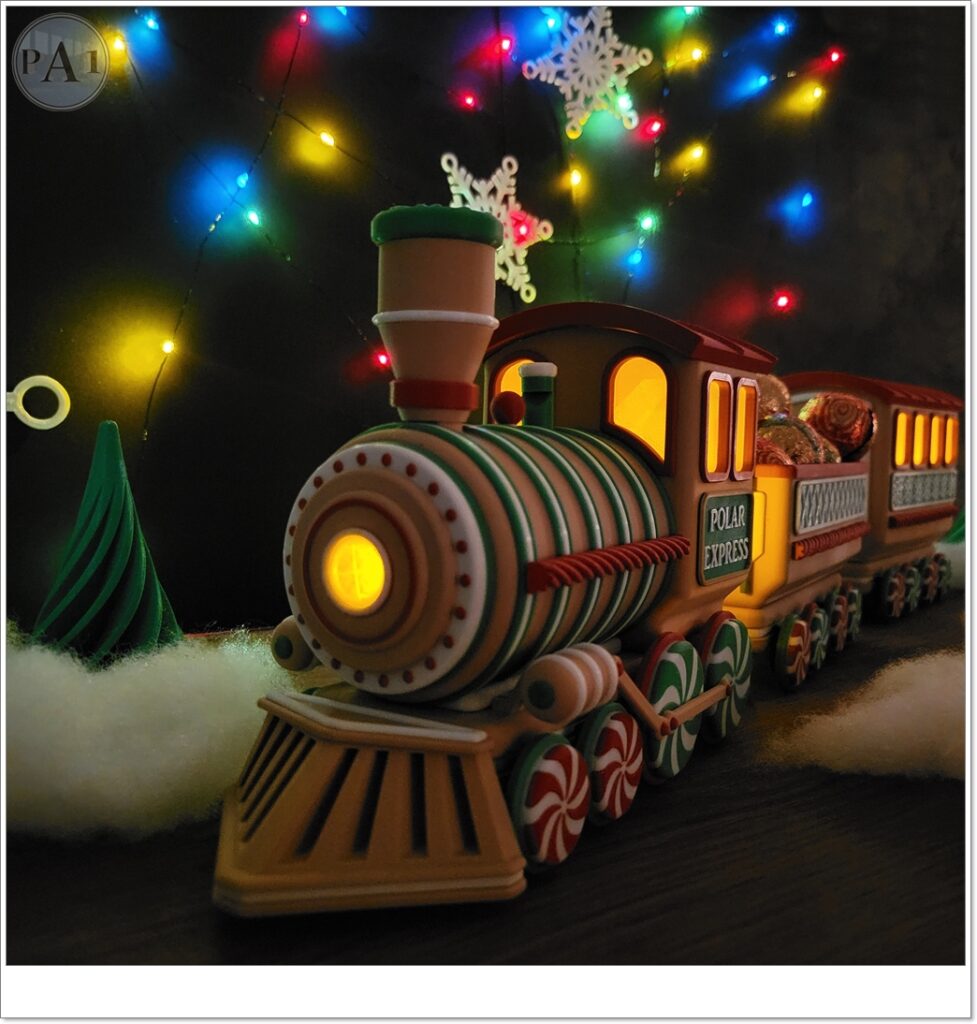
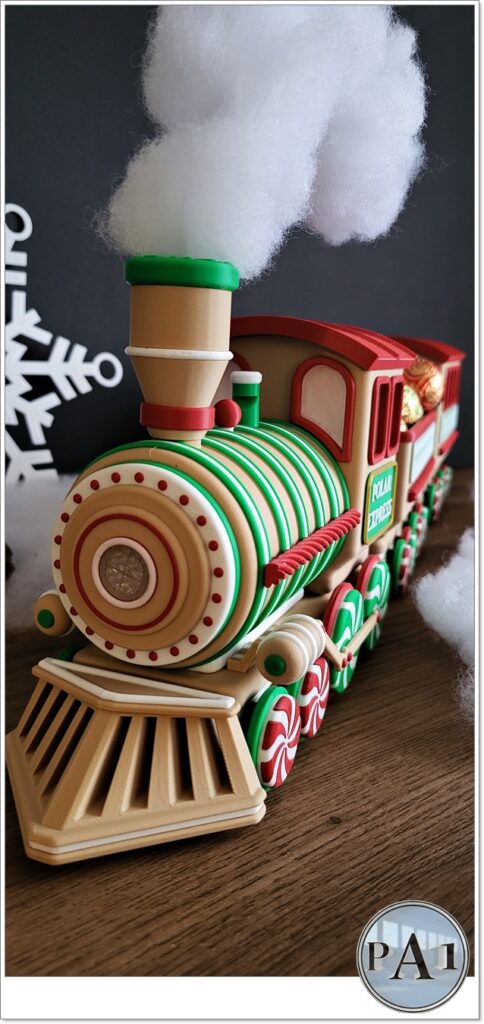
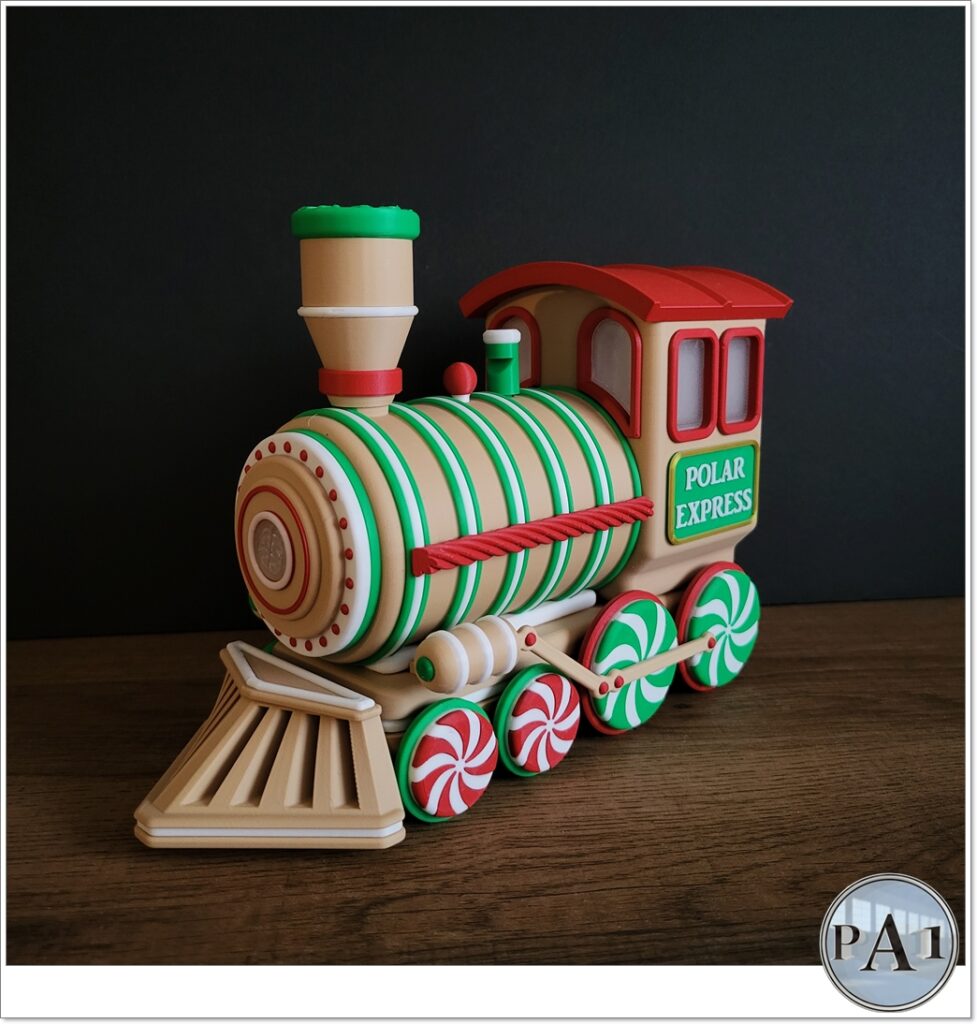
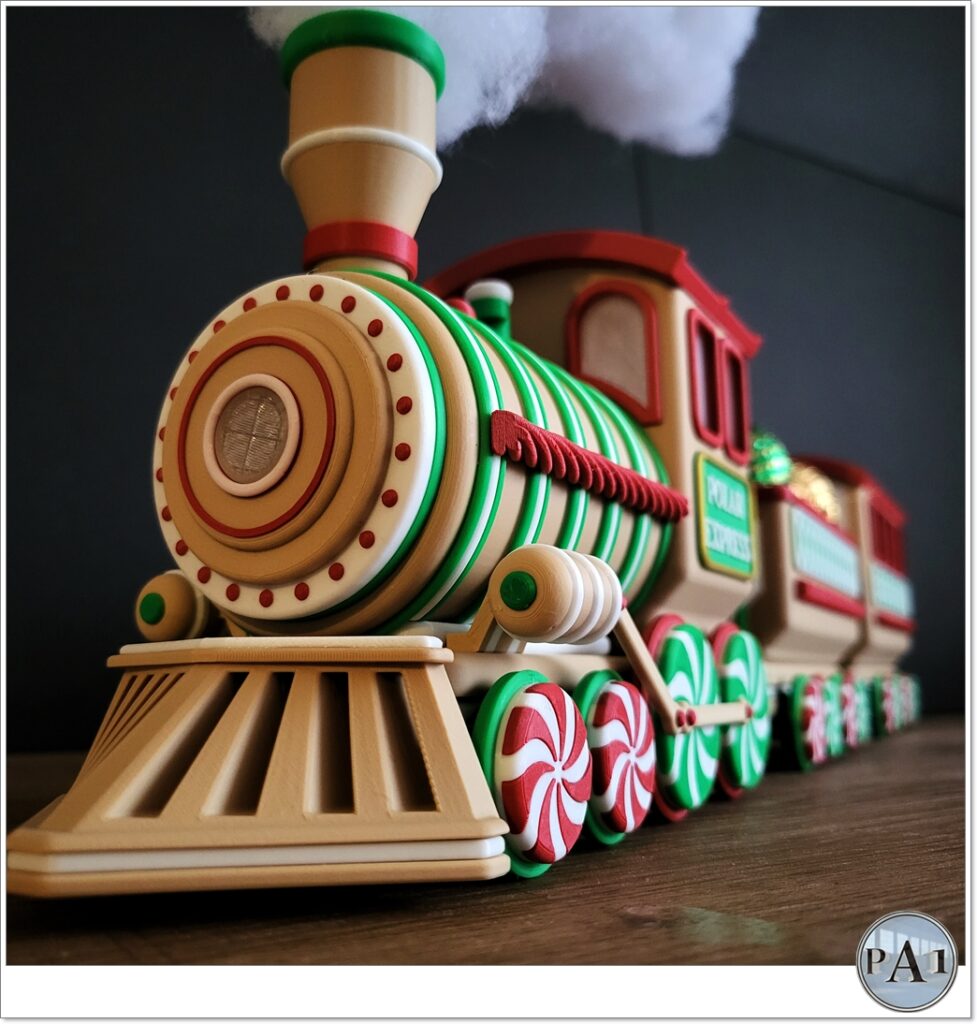
The Christmas print queue has properly started, and this year’s first big one is genuinely one of the best-designed seasonal projects I’ve come across — the Illuminated Christmas Gingerbread Train by PA1_MAKER. Yes, it is only September. Last year I ran out of time entirely and ended up rushing a batch of gifts in mid-December, so this year the plan is to start early and actually enjoy the process rather than fight the calendar. This one is also a genuine ongoing project — I have already printed several as gifts, and PA1_MAKER keeps adding new wagon designs to the family, which means this post is likely to get a follow-up as the collection grows.
The model, and why the design deserves real credit
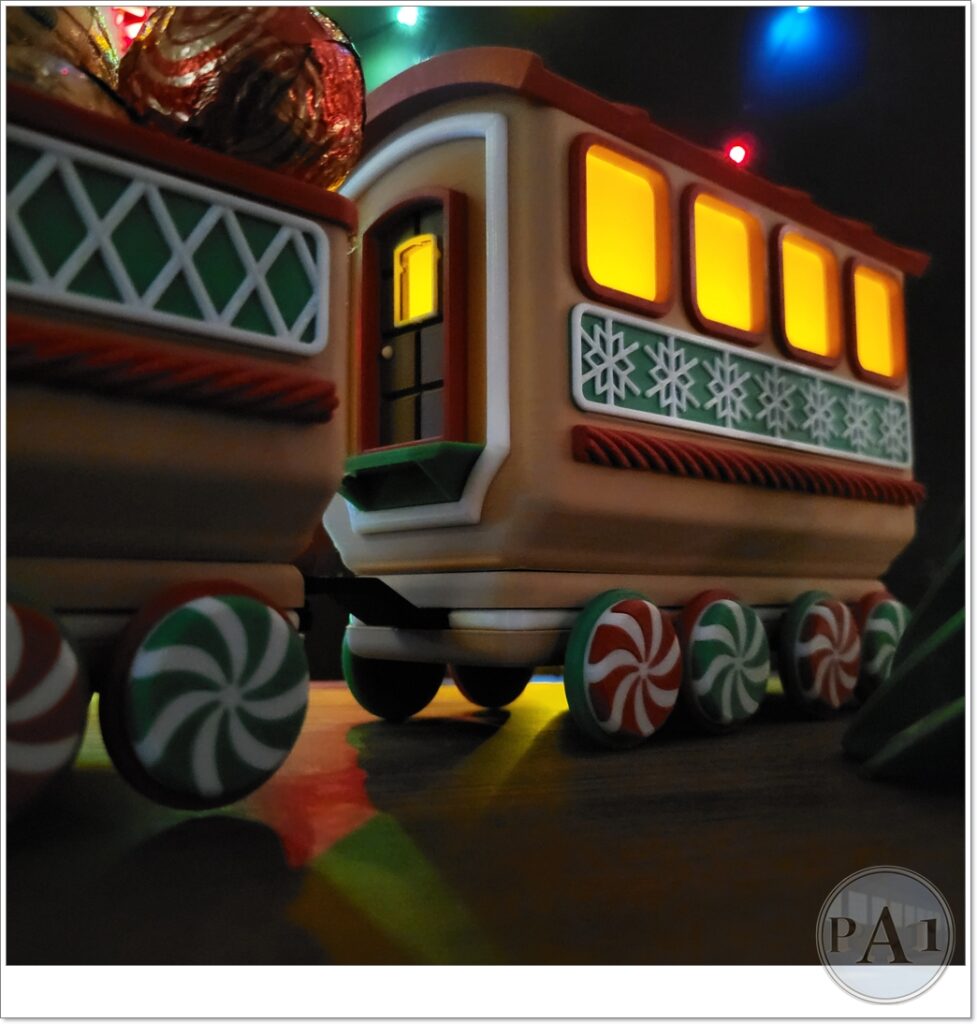
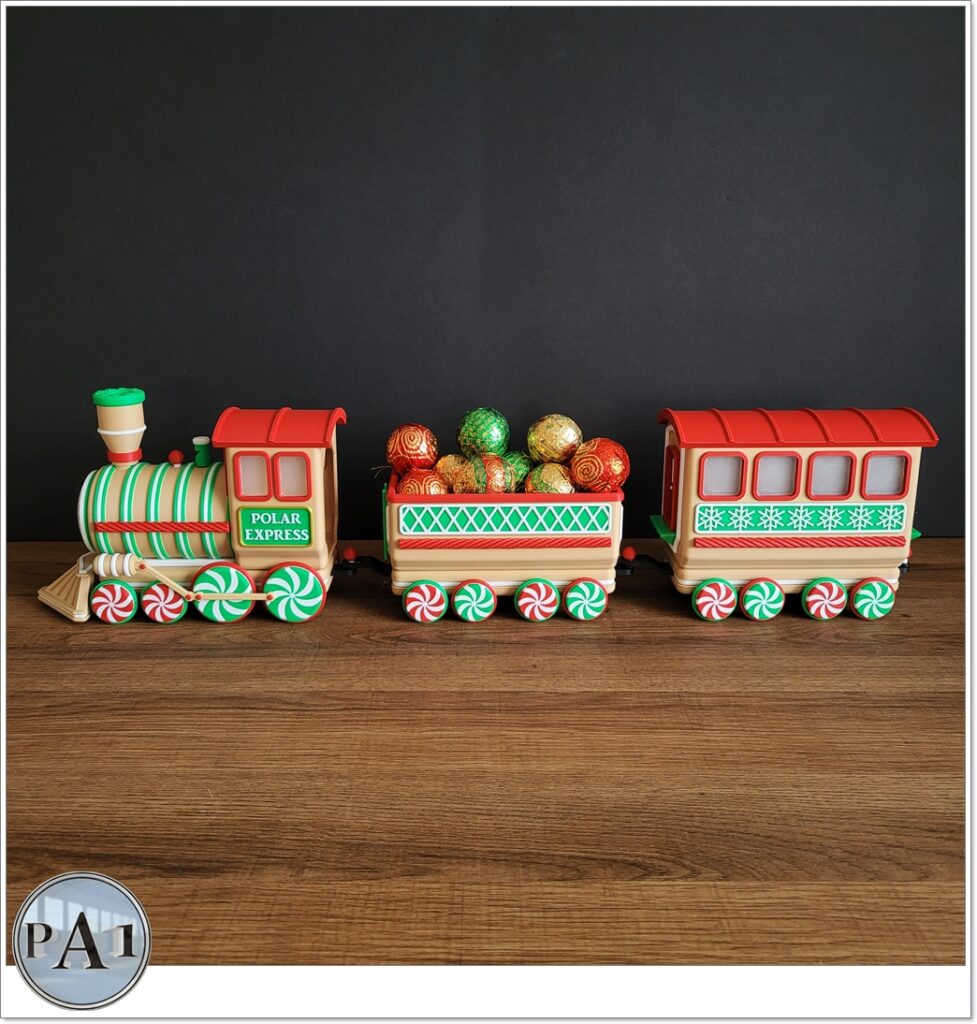
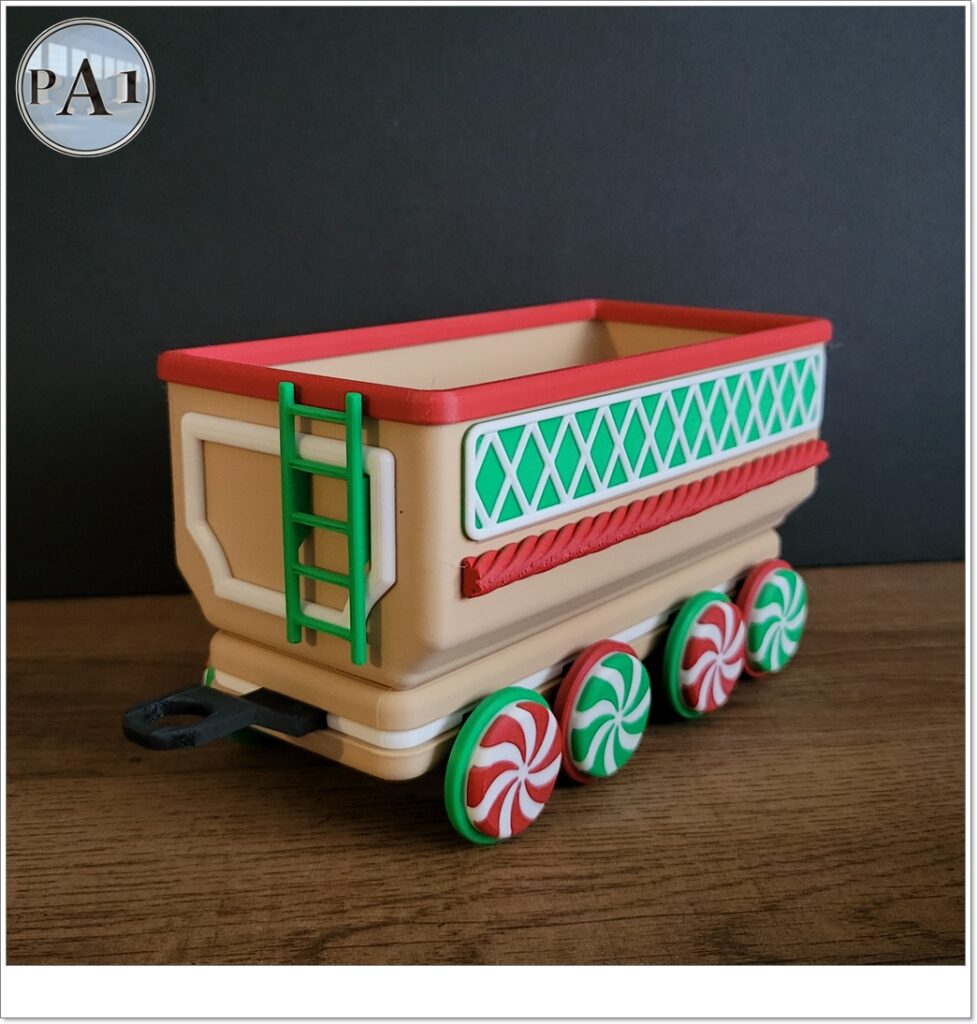
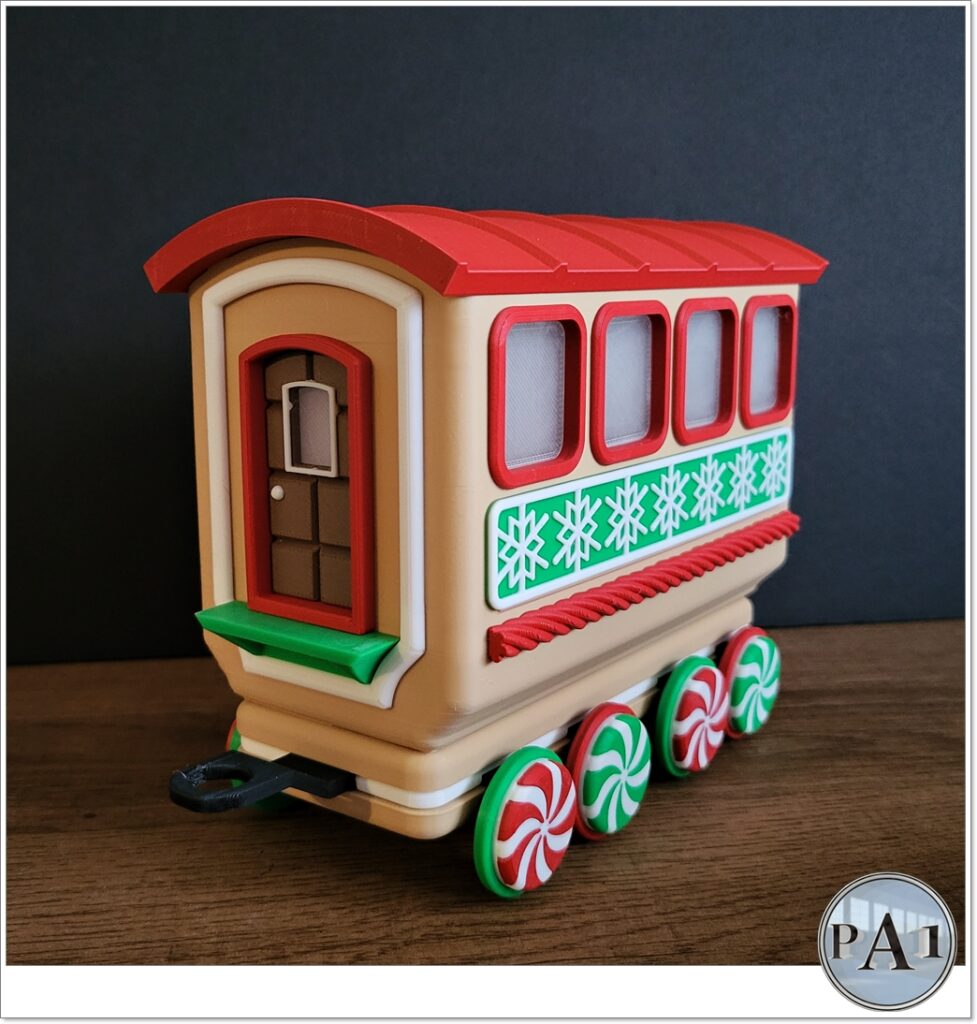
PA1_MAKER describes this as their most ambitious Christmas project to date, and having actually built it, that is not an exaggeration. The three core wagons together run over 600mm long, and the whole thing is genuinely modular — the locomotive, the Candy Wagon (the centre piece), and the standard Wagon can each be printed and assembled independently, and PA1_MAKER has since released additional wagon variants that slot into the same train, meaning the collection genuinely grows over time rather than being a single fixed set. I really like this designer’s work generally, and this project is a good example of why — the sheer amount of care in the instructions is obvious the moment you open the files. Over 50 exploded-view diagrams across three separate instruction folders, colour-coded part names with quantities built directly into the filenames, and every single file pre-oriented for printing exactly as intended. Nothing here is support-free by accident; it is support-free because someone put in the design work to make it that way.
The whole train also fits on a Prusa Mini or Bambu A1 Mini bed, which matters for anyone without a full-size plate, and it is genuinely accessible to anyone without a multi-colour printer at all — the signage and other multi-coloured parts are designed around colour changes at a specific layer height rather than requiring an AMS, so a single-nozzle printer handles the whole build with nothing more than a pause-and-swap at the right layer. For anyone running an AMS, obviously, that step is automated entirely.
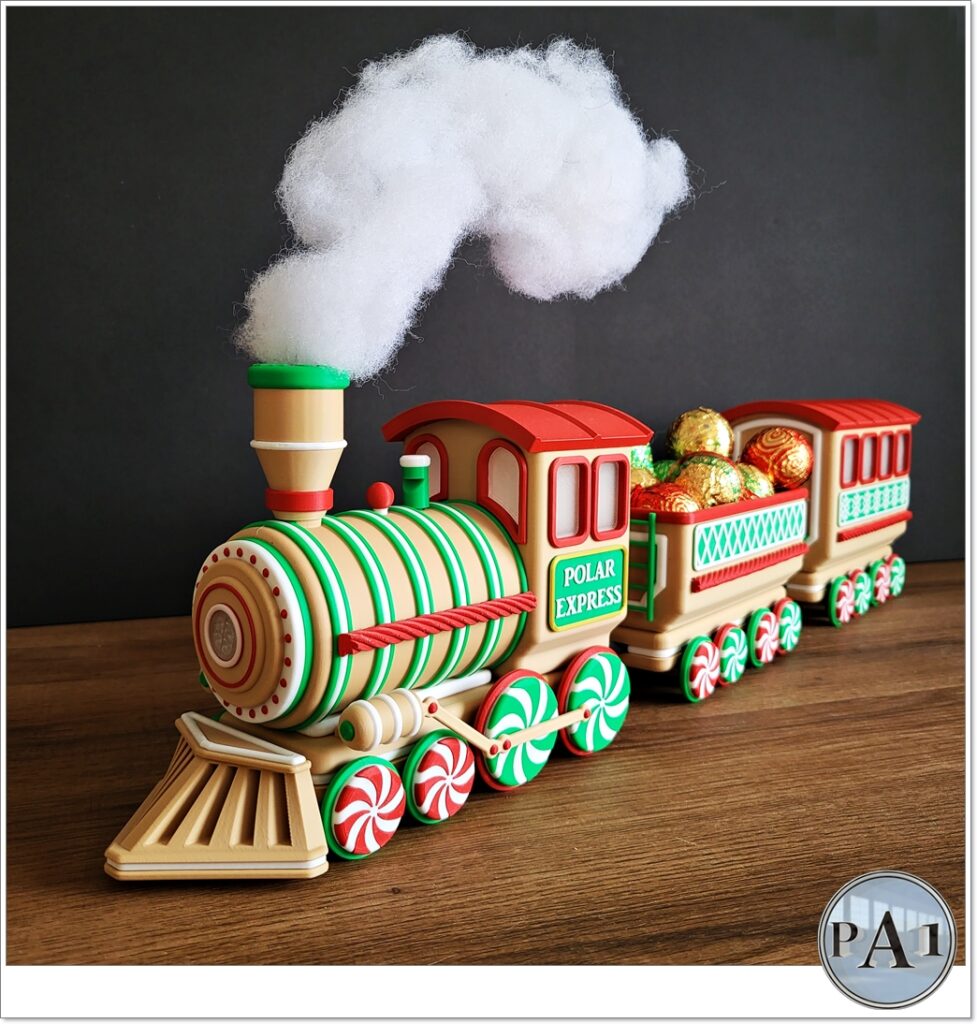
Two small design details are worth flagging directly because they are the kind of thing you would not know about without reading the instructions properly. The locomotive’s cab has genuinely tricky overhangs on the two front windows — printable without support on a well-tuned printer and good filament, but worth adding custom tree supports there specifically if your printer or filament is not well suited to fine overhangs, exactly the kind of judgement call covered in the orientation for strength post. And there is a genuinely lovely detail hidden inside the chimney: a small hole specifically designed to hold a piece of steel wire and a wisp of cotton wool, creating a smoke column effect. PA1_MAKER credits their own wife with the idea in the listing, and it is exactly the kind of small human touch that separates a genuinely considered design from one that just happens to look like a train.
Assembly: follow the order, do the dry fits
PA1_MAKER’s own guidance is worth repeating because it is genuinely correct: build one wagon type at a time, starting with the standard Wagon before attempting the more complex Candy Wagon or the locomotive itself. The standard Wagon is the simplest of the three, and getting comfortable with the assembly logic there makes the more involved builds considerably less daunting. Dry-fitting every joint before reaching for glue is the other piece of advice worth taking seriously — with a build this size and this many individual parts, catching an orientation mistake before it is permanently glued is the difference between a quick fix and a reprint.
Illumination
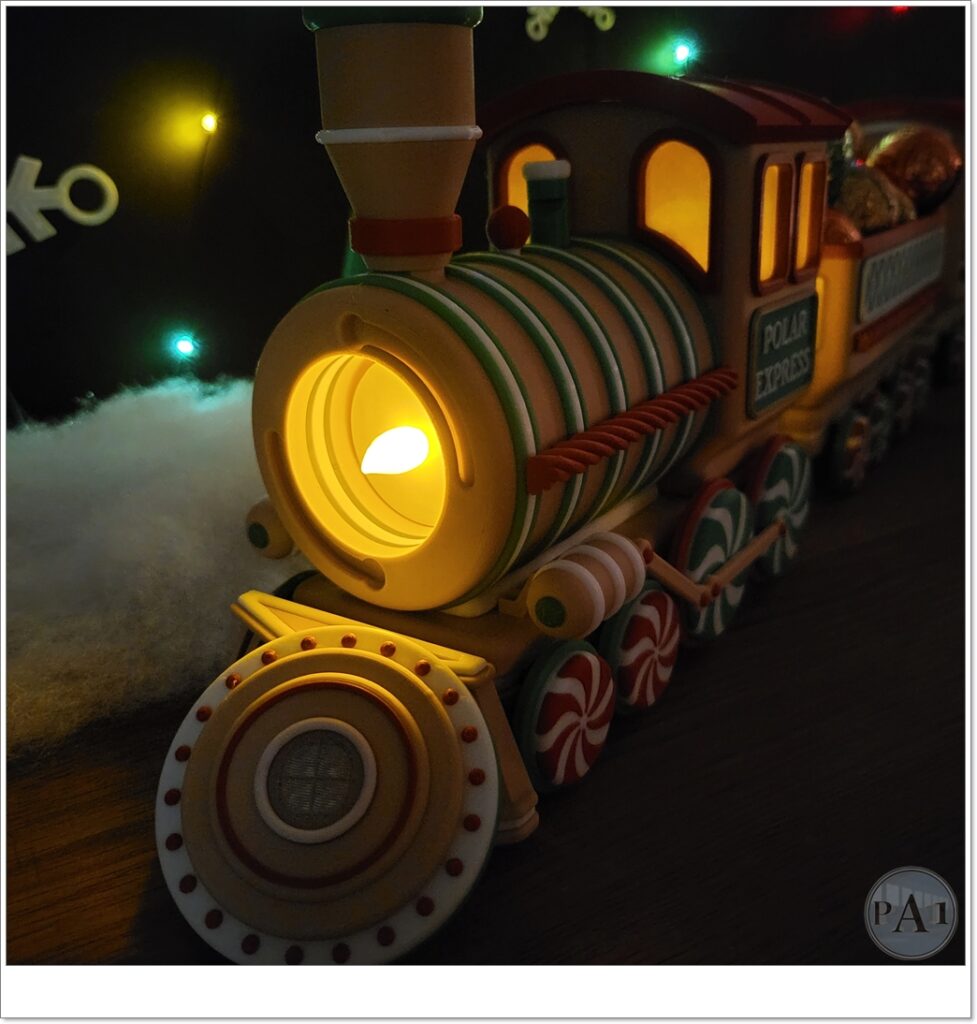
The whole train is designed to be lit from within using standard battery-operated tealight candles — no wiring, no soldering, nothing that needs mains power anywhere near a Christmas display. This is a genuinely sensible design choice for anything intended as a gift, since it removes any electrical complexity the recipient would need to deal with themselves. Drop a tealight in, and the gingerbread glow does the rest.
The filament problem I have not solved yet
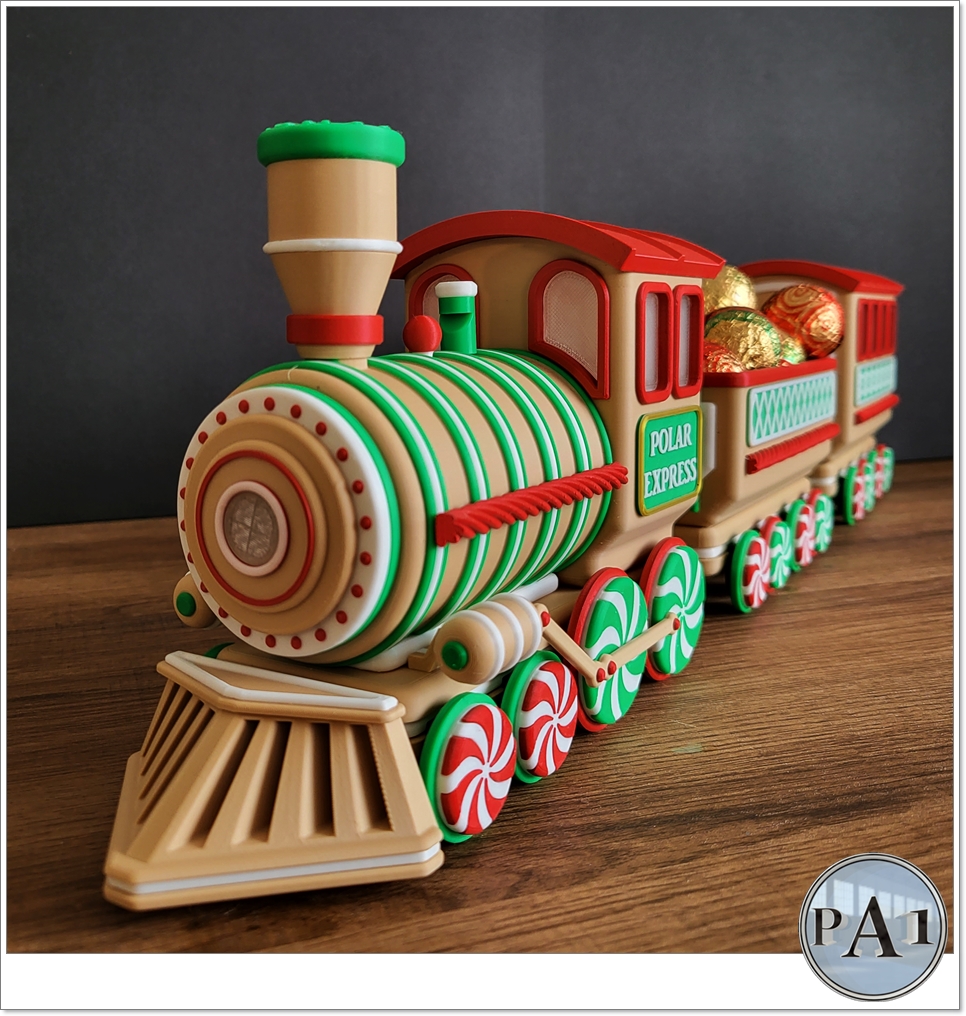
This is the part of the build I genuinely want reader input on, because I have tried a fair number of options at this point and have not landed on one I am properly happy with. The whole appeal of a gingerbread train obviously hinges on the colour actually reading as gingerbread — warm, biscuit-brown, believable — rather than looking like a generic brown plastic train that happens to be shaped like gingerbread.
So far I have tried a few wood-effect filaments from Eryone and Elegoo, hoping the fleck and tone of a wood-fill material might land closer to a genuine biscuit colour than a flat brown PLA would. Neither has quite got there for me — the wood-fill texture reads more like, well, wood, than gingerbread specifically. I have also tried Light Brown eSUN PLA+, which is a genuinely well-made filament by the general standards covered in the filament brands post, but the specific shade leans slightly too glossy and cool for what I am after. Bambu Lab’s Matte Caramel is closer in warmth but still not quite the colour in my head when I picture a gingerbread biscuit. And the filament that actually got closest to right, in my experience — a SunLu wood PLA I used on a previous project — appears to have been discontinued, which is exactly the kind of frustration that comes with relying on a specific colourway from a brand’s rotating range rather than a standard, permanent SKU.
None of the brands involved here are the problem — eSUN, Bambu, and the wood-fill options I have tried are all reasonably well-regarded, consistent products by the standards covered across this site’s materials posts. This is genuinely a colour-matching problem rather than a quality one, and gingerbread brown turns out to be a surprisingly specific and elusive shade to nail from a standard filament colour range. If you have a specific filament and colour name that has actually nailed a convincing gingerbread tone for a project like this, I would genuinely like to hear about it — leave a comment, or get in touch directly through the site. This is exactly the kind of specific, practical recommendation that is more useful coming from someone who has actually solved the same problem than from another round of me testing spools blind.





Where this project goes from here
With PA1_MAKER continuing to add new wagon designs to the collection, and my own gift-printing queue for this year properly under way, this is very likely a project I will come back to more than once before Christmas actually arrives. Starting in September rather than mid-December means there is genuinely time to try another filament option or two before committing a full gift-batch print run to whatever ends up being the answer to the gingerbread colour question. Watch this space, and in the meantime, do get in touch if you have a colour recommendation worth trying.