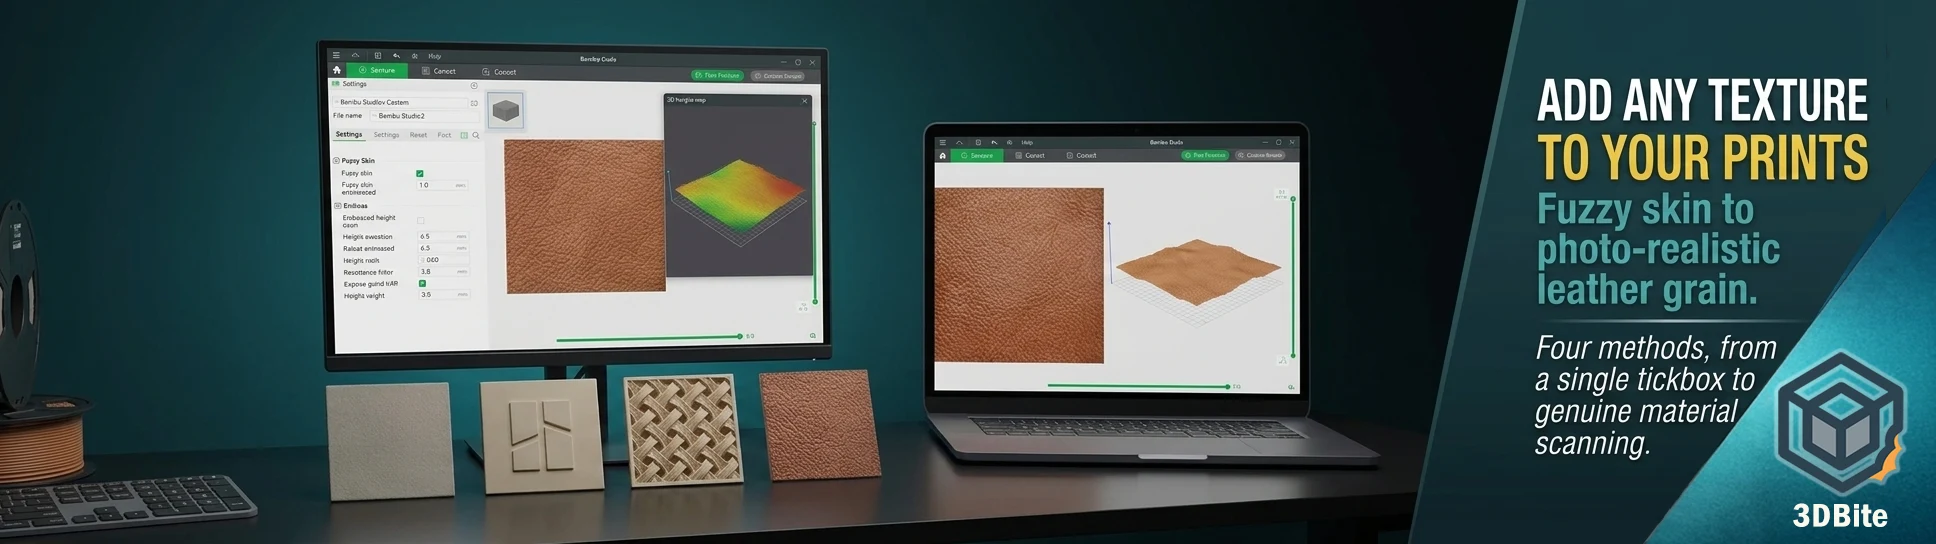
A perfectly smooth, glossy plastic surface is not always what you want. Sometimes the more interesting result is a print that feels like leather, or stone, or woven fabric, or has a specific logo embossed into a panel, or simply reads as matte and grippy rather than smooth and slightly cheap-looking. There are several genuinely different ways to add texture to a 3D print, ranging from a single tickbox in the slicer to converting a photograph of real leather into printable geometry, and which one is right depends entirely on what kind of texture you are after and how much control you need over it.
The quick distinction: whole-surface texture versus a specific pattern
Before choosing a method, it helps to separate two different things that both get called “texture.” One is an even, all-over surface finish applied to the entire model — something that makes a surface matte and grippy rather than glossy, without any specific pattern to it. The other is a defined, deliberate pattern — a logo, a specific weave, a leather grain, a wood grain — embossed or engraved onto a chosen face. Bambu Studio and OrcaSlicer both handle the first case with a single built-in setting. The second case needs more deliberate work, ranging from a five-minute image conversion to a genuine trip through Blender or Fusion 360.
Method 1: Fuzzy skin — the fastest all-over texture
Fuzzy skin is the setting to reach for when the goal is simply “make this less glossy and plasticky, all over.” It works by deliberately jittering the outer wall path by a small, randomised amount as it prints, rather than tracing a perfectly clean line. The result is a fine, even, matte surface texture that also has the useful side effect of disguising layer lines almost completely — a print with fuzzy skin enabled does not look like it was built in visible horizontal bands the way a smooth-walled print does.
In both Bambu Studio and OrcaSlicer: Process → Quality → Others (or Fuzzy Skin, depending on version) → enable Fuzzy Skin and choose where it applies — outer walls only, or outer walls plus top surface. Two parameters control the character of the finish: point distance sets how frequently the jitter occurs along the wall (smaller distance produces a finer texture, larger produces a coarser one), and thickness sets how far the jitter deviates from the clean wall path (more thickness produces a more pronounced, deeper texture). Start with the slicer’s defaults, print a small test cube, and adjust from there — the difference between a subtle grippy finish and an aggressively rough one is entirely in these two numbers.
This is the right method for enclosures, handles, grips, and anything where the goal is a better feel in the hand and a less obviously 3D-printed appearance, rather than a specific decorative pattern. It works on any surface shape — flat, curved, or cylindrical — because it operates on the wall toolpath itself rather than being projected onto a specific face.
Method 2: embossing an image or logo onto a face
This is the method for a specific, deliberate pattern rather than an all-over finish — a logo, a piece of text, a repeating decorative motif, or genuinely any shape that can be represented as a black-and-white image. Bambu Studio and OrcaSlicer both support embossing (raising) or engraving (recessing) an SVG onto a chosen flat face of a model.
The practical workflow starts outside the slicer: take the image you want to use, and convert it to an SVG — a vector file rather than a bitmap — because the slicer’s emboss tool needs vector paths to generate the raised or recessed geometry cleanly. Free tools like Inkscape’s built-in trace bitmap function, or online converters, handle this conversion for a reasonably high-contrast source image. A photograph works, but a genuinely high-contrast black-and-white image — closer to a stencil or a line drawing than a full-tone photo — converts far more cleanly and produces a crisper embossed result.
Once you have the SVG: in Bambu Studio, select the model, use the Emboss/Engrave tool from the left toolbar, import the SVG, and position it on the target face. Set the emboss depth (how far the pattern protrudes or recesses) and confirm the placement in the 3D preview before slicing. OrcaSlicer’s equivalent tool lives in the same general area of the interface with the same underlying logic. This method is genuinely reliable for flat or gently curved faces and is the standard technique for adding a logo, maker’s mark, or specific decorative pattern to a defined area of a model — a coaster, a sign, a panel, a badge.
The important limitation, and one that community tutorials are honest about: this technique does not wrap cleanly around cylindrical or fully curved surfaces. It projects the pattern onto a face in a fairly direct way, which works well on flat and mildly curved geometry but stretches or distorts noticeably on a genuinely round surface like the side of a cylinder or a sphere. For a flat sign, a box lid, or a rectangular panel, it is close to perfect. For wrapping a repeating texture fully around a cylindrical vase or a rounded handle, it is the wrong tool — the non-planar and image-to-mesh methods further down this post handle that case properly.
Method 3: using infill patterns as an exposed decorative surface
This is a genuinely clever technique that uses a setting most people never think to repurpose. Bambu Studio and OrcaSlicer both offer a range of infill patterns — Gyroid, Grid, Honeycomb, Triangles, Cubic, and others — normally hidden entirely inside the model, doing structural work that nobody sees. Set the top shell layer count to zero on a specific face, and the infill pattern that would normally be buried under a solid top surface becomes the visible surface itself.
The practical method: apply a modifier mesh to the model, covering only the face you want textured, and set that modifier’s top shell layers to zero specifically for that region rather than globally across the whole print — this confines the exposed-infill effect to the decorative face while leaving the rest of the model’s structural surfaces intact and properly finished. Choose the infill pattern and density that produces the visual effect you want — Gyroid produces an organic, flowing woven look; Honeycomb produces the expected hexagonal pattern; Grid or Triangles produce more geometric, architectural textures. Layer height affects the resolution of the visible pattern: 0.12-0.15mm produces the most defined, crisp texture lines, while thicker layers around 0.20mm print faster but show less visual detail in the exposed pattern.
The essential caveat, worth stating plainly: this technique is for decorative surfaces only, never for anything structural. Reducing top shell layers to zero eliminates the solid, load-bearing surface that a normal top layer provides. This is exactly the pillowing mechanism covered in the pillowing post, deliberately embraced as a visual effect rather than avoided as a defect — you are choosing to expose the underlying infill structure rather than bridging over it with a solid top. Use this on coasters, decorative panels, display covers, and lampshades. Do not use it on anything that needs to hold weight, resist impact, or seal against moisture, because the exposed infill surface has none of the structural integrity a proper solid top layer provides.
Method 4: real-world material scans — the most convincing results
This is the method that produces genuinely convincing results for materials like leather, stone, wood grain, or woven fabric, and it works by treating a photograph as a height map — a greyscale image where lighter areas become raised and darker areas become recessed (or vice versa), converted directly into printable surface geometry. Take a reasonably high-resolution, evenly lit photograph of the actual material you want to replicate — a genuine piece of leather, a rock surface, a plank of wood — convert it to greyscale, and feed it into a displacement or height-map tool. Fusion 360 has this capability through its emboss and texture tools working from an imported image; Blender handles it through displacement mapping applied to a plane or curved surface, using the photograph as the displacement texture.
The result, done well, is a printed surface that carries the actual irregular, organic surface variation of the source material rather than a repeating geometric pattern — genuinely different in character from the infill-pattern method above, because a photograph of leather has no obvious repeat unit the way an infill pattern does, and that lack of visible repetition is exactly what makes it read as convincingly organic rather than obviously computer-generated. This technique works for essentially any material you can photograph cleanly: leather, stone, tree bark, fabric weave, brushed metal, worn concrete. Once you have done this once, the “oh, that’s clever” reaction from anyone shown the technique is consistent — it is a genuinely underused trick relative to how effective it is.
Several newer tools are making this specific workflow considerably more accessible than the manual Blender or Fusion route. Automated relief-texture generators that convert a 2D photo directly into a 3D height map without any manual displacement mapping setup have started appearing, cutting a process that used to take a genuine CAD session down to a much faster upload-and-generate workflow. Worth searching for current tools in this specific category if the manual Blender route feels like more setup than a given project justifies — the automated versions are improving quickly and lower the barrier to this technique considerably.
Comparing the methods
| Method | Best for | Effort | Works on curved surfaces? |
|---|---|---|---|
| Fuzzy skin | All-over matte, grippy finish; hiding layer lines | Low — one slicer setting | Yes, any shape |
| Emboss/engrave SVG | Logos, text, specific decorative patterns on a face | Low-medium — needs an SVG conversion | Flat and gently curved only |
| Exposed infill pattern | Decorative panels, coasters, lampshades — geometric woven look | Medium — needs a modifier mesh setup | Best on flat faces |
| Photo-to-displacement (Blender/Fusion) | Convincing leather, stone, wood, fabric replication | High — needs CAD/3D software | Yes, with proper UV/surface mapping |
The honest limitations across all of these
Slicer-based texturing — fuzzy skin and embossing specifically — has one structural weakness worth being clear about. Because the texture is generated inside the slicer rather than being baked permanently into the model geometry itself, it is somewhat less durable across changes than a texture applied in CAD. A slicer software update, a settings profile change, or someone else opening your shared 3MF file and adjusting a related setting without realising it affects the embossed texture can all disrupt the effect. If you are sharing a model file for others to print — on MakerWorld, Printables, or anywhere else — a CAD-baked texture that is permanently part of the mesh geometry travels with the file reliably regardless of what slicer settings the downloader has configured. A slicer-applied texture depends on the recipient’s own settings matching what you intended, which is a real risk if precision matters to the final result.
For your own personal printing, where you control the whole pipeline from model to print, this distinction barely matters. For anything you intend to share or sell as a design file, baking the texture into the geometry in CAD before export is the more robust choice, even though it takes longer to set up initially.
Where to start
For a first attempt, fuzzy skin is the lowest-effort entry point and worth trying on any print where the surface currently looks a bit too glossy or plasticky — it takes thirty seconds to enable and the result is immediately visible. For a specific logo or decorative pattern on a flat face, the SVG emboss method is the next step up in effort and gives you deliberate control over exactly what appears and where. For a genuinely convincing material replication — leather, stone, fabric — the photo-to-displacement route is worth the extra setup time the first time you try it, because the result is meaningfully different in character from anything the slicer-native tools can produce on their own, and once the workflow is understood, applying it to future projects becomes considerably faster on the second and third attempt.