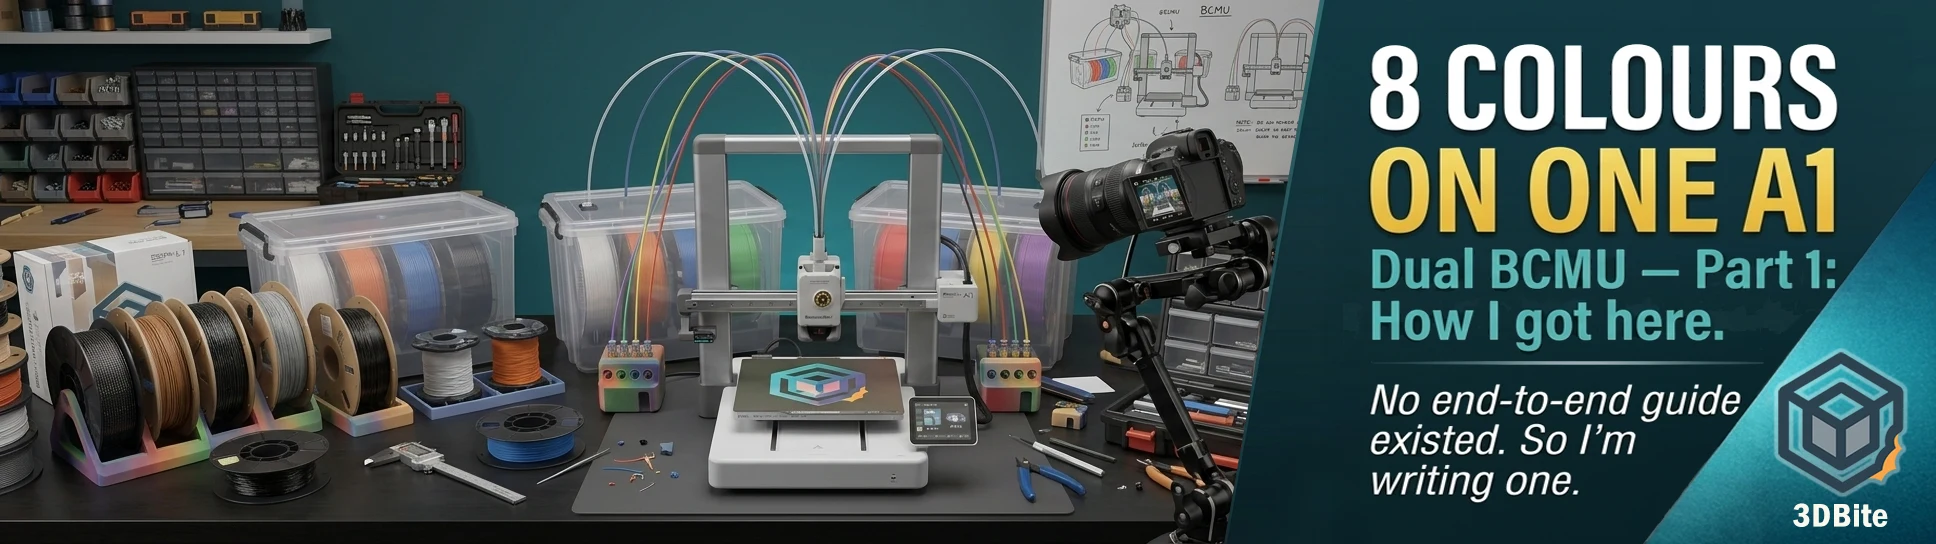
This is part one of what will be an ongoing multi-part series. I have just bought two BCMU units, the A1 has detected both of them as AMS A and AMS B, and things look very promising — but I am not far enough into the setup to write the definitive guide yet. What I can write now is the story of how I got here, why I think this is worth pursuing, and what the early results confirm. The full installation guide, calibration process, and real-world printing results will follow in subsequent parts as I work through them. Consider this the scene-setting post.
A quick recap: what the BCMU is
If you have not come across the BCMU before, the AMS arms race post covers the broader multi-colour landscape and touches on it, but a quick recap is worth having here. The BCMU — Bambu Multi Colour Unit — is a community-designed open-source four-colour filament switching unit that connects to a Bambu A1, A1 Mini, or P1S in place of or alongside the official AMS. It is not a Bambu Lab product. It is a printed and assembled community device, designed by a Chinese maker known as XC and distributed as a printable design on MakerWorld alongside purchasable bare-PCB kits from AliExpress at significantly lower cost than any official Bambu AMS unit. Four channels, four filament inputs, connected to the printer’s AMS port — functionally similar to what the AMS Lite does, but built from the community rather than bought from Bambu.
The firmware that makes the BCMU work is where the development is happening fastest, and there are now multiple community firmware branches — the Yuekai community firmware, and the fork developed by Paweł Jarczak, who is the same developer at the centre of the Bambu Lab AGPLv3 investigation. Jarczak’s firmware branch is specifically documented as achieving 100% AMS-compatible behaviour on the A1, with all known issues fixed. The detail that opened the door to the dual-BCMU setup I am attempting is this: recent firmware development introduced the ability for the BCMU to emulate not just AMS Lite behaviour but full AMS behaviour — specifically, the ability to present itself to the printer as AMS A or AMS B rather than as a single AMS unit. Two BCMUs, two AMS identities, eight total colour channels, all on one A1.
The decision path that got me here
Until a few months ago I had not seriously considered the BCMU as something relevant to my own setup. The A1 was running its AMS Lite reliably and doing exactly what I needed from it. I had seen the BCMU discussed in the community, noted it as an interesting thing, and filed it in the category of “clever but not for me right now.” Then I bought the A2L.
The A2L arrived standalone — no AMS, no Combo. The reasoning at the time was straightforward: the A2L is primarily a large-format single-colour machine for me, handling prints that exceed the A1’s 256mm build volume. Multi-colour work stays on the A1 with its AMS Lite. That felt like a clean, logical division of labour. The A2L does large prints, the A1 does multi-colour prints. Simple.
Then I started actually using the A2L. The more I printed on it, the more I found myself thinking about the AMS question from the other direction. The A2L is capable of AMS printing — it accepts the AMS Lite and the AMS 2 Pro, as covered in the A2L specs post — and the more time I spent running large-format prints on it, the more I found myself wanting multi-colour capability there too. Seasonal builds and character figures that are large enough to need the A2L’s plate are also, frequently, the kind of models where having more than one colour would make a significant difference to the finished result.
So the question shifted from “A1 has AMS Lite, A2L does not, this is fine” to “should the AMS Lite move to the A2L?” Which then immediately raised the follow-up: if the AMS Lite moves to the A2L, what does the A1 get for multi-colour? Buy a second AMS Lite? That is another £70–£100. Buy an AMS 2 Pro? More capable but more expensive and more desk space. Or was there a different answer entirely?
The different answer surfaced through Facebook group posts and a couple of YouTube videos I found while researching options. A few community members had already connected two BCMU units to a single A1 and reported that the printer detected both as separate AMS units — AMS A and AMS B. Eight channels. Eight colours. From a printer that normally tops out at four with the AMS Lite. The BCMUs to do this cost a fraction of a second official AMS unit. The components I needed to print the housing and holders are already queued on the very printer I was trying to expand.
I looked for a comprehensive guide. There was not one. Forum threads with partial information, a couple of short videos with limited detail, and the Yuekai community wiki which covers the firmware well but not the full end-to-end physical setup. If there is no guide, and the setup works, there is clearly a guide to be written. That is what this series is.
Why two BCMUs rather than one official AMS option
Cost is the obvious answer and it is a real one. A BCMU purchased as a bare PCB kit from AliExpress — the board and the electronic components — typically costs £15–30 depending on the variant and the supplier. The printed housing and mechanical components are printed on the machine itself. Compare this to an official AMS Lite at £70–120 or an AMS 2 Pro at around £180+. Two BCMUs cost less than one AMS Lite. For eight colour channels versus four, at roughly a third of the cost of the equivalent official hardware, the economics are genuinely compelling.
But cost is not the only consideration. The BCMU’s open-source nature is directly relevant to the ecosystem discussion covered in the ecosystem post. The firmware development that makes the dual-BCMU AMS emulation possible is being driven by exactly the same open-source community that Bambu Lab’s legal behaviour has been antagonising. Paweł Jarczak — whose OrcaSlicer fork Bambu tried to shut down, and who is now a collaborator on the SFC’s baltobu project — is one of the key contributors to the BCMU firmware that makes this setup work. There is a certain poetry in using his firmware to expand the capabilities of a Bambu printer beyond what Bambu’s own hardware officially enables.
The practical advantages over the official AMS are documented in the AMS arms race post and have not changed: shorter filament path than the AMS Lite’s external unit, open design that allows inspection and user repair of any component, and the flexibility to run the BCMU with custom filament holders outside the printer’s immediate footprint — which matters specifically for the drybox build covered in the drybox post.
What the firmware enables — and why the printer mode matters
The specific technical enabler for a dual-BCMU setup is the AMS emulation firmware. There are two key firmware variants for a dual-BCMU A1 setup: the firmware flashed to the first BCMU presents it to the printer as AMS A, and the firmware flashed to the second BCMU presents it as AMS B. The printer, reading two AMS-compatible devices on its bus, registers both and treats them as a chained multi-AMS setup — exactly as it would treat two official AMS units chained together.
One important prerequisite that the documentation makes clear: the printer must be configured in AMS mode, not AMS Lite mode. The AMS Lite mode uses a different communication protocol and is incompatible with the BCMU in AMS emulation configuration. Switching the A1 from AMS Lite mode to AMS mode is a setting in the printer’s interface — not a complex change, but an essential one before the BCMUs will be detected correctly. The AMS Lite that was previously connected to the A1 is now moving to the A2L, which makes this switch clean rather than disruptive.
An important safety note that the firmware documentation flags explicitly and that I am following strictly: connect and disconnect the BCMU units only when the printer is completely powered off and unplugged. Doing this while the printer is powered can damage the BCMU and/or the printer mainboard. This is not a precaution to take lightly with a printer that has been running reliably for two years.
Where things stand right now
The two BCMU units have arrived. The A1 has already confirmed the fundamental premise of this whole project: it detects both units as AMS A and AMS B. That early detection confirmation — before calibration, before the drybox build, before a single multi-colour test print has been attempted — is the most reassuring possible starting point. The printer sees eight colour channels. Whether it prints reliably through all eight is the question the subsequent parts of this guide will answer honestly and in full detail.
What still needs to happen before the first real eight-colour print: the Ezystorage drybox builds covered in the drybox post, the physical mounting and PTFE tube routing for both BCMUs alongside the A1, firmware verification and calibration for each unit individually, and an initial test print to establish that the colour change logic works correctly across all eight channels at once. The calibration step is emphasised repeatedly in the firmware documentation as non-negotiable — without proper calibration, the BCMU will not work correctly — and this will be a dedicated section of a future post rather than something rushed through.
I am also aware that Bambu Lab continues tightening compatibility around the BCMU, and there is a growing risk that BCMU may eventually become unusable in that ecosystem. This is the ecosystem risk that comes with any open-source workaround on a proprietary platform, and it is worth naming honestly. The community firmware developers are aware of this and are actively working toward Klipper-based printer support as a contingency — the same direction the baltobu project is heading on the slicer side. For now, the A1 with dual BCMU is working and the community is maintaining the firmware actively. If that changes, this guide will be updated to reflect it.
This series continues as the build progresses. The next post will cover the physical installation in detail — what gets mounted where, how the PTFE tubes route cleanly from the dryboxes to both BCMUs and into the printer’s AMS hub, and the before-and-after of switching the A1 from AMS Lite mode to AMS mode. If you are attempting a similar setup and want to share notes, the comments are open — as far as I can tell there are very few people who have done this and even fewer who have documented it properly, so any additional experience data is useful.