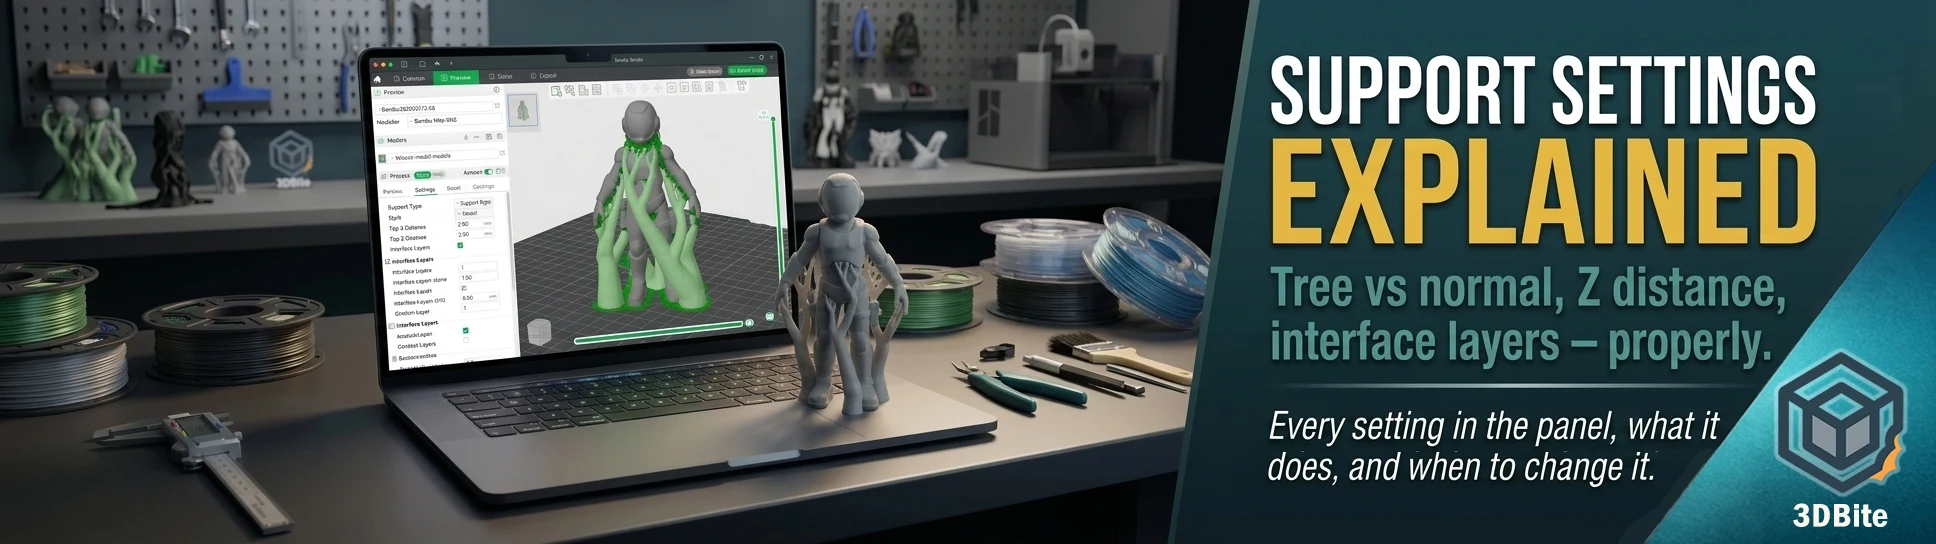
Supports are one of those settings panels most people leave on Auto forever, and for a lot of prints that is genuinely fine. But the moment a model has overhangs that are catching support in the wrong places, surfaces that are getting scarred where they should stay clean, or supports that will not release without taking a chunk of the model with them, the default settings stop being adequate and the actual options in that panel become worth understanding properly. This is the full explanation — what each setting does, why it exists, and what to actually change it to depending on what is going wrong.
The threshold angle: what triggers a support in the first place
The threshold angle is the first decision Bambu Studio makes about your model. Any surface that overhangs more steeply than this angle gets flagged for support; anything shallower is assumed printable on its own. The default sits around 45 degrees, which reflects the practical reality that most FDM printers, including the A1 and A2L, can print unsupported overhangs up to roughly that angle without significant sagging or quality loss.
Lowering the threshold angle (a smaller number) makes the slicer more conservative — it will support more surfaces, including some that might have printed acceptably on their own. Raising it makes the slicer more permissive, supporting only the steepest, most extreme overhangs and leaving more moderate ones to print unsupported, with the associated risk of drooping if your cooling and speed settings are not dialled in well enough to handle it. This connects directly to the physics covered in the bridging post — an overhang close to the threshold angle is exactly the kind of geometry where good cooling and moderate speed can be the difference between needing support and not.
Found in Process → Support → Threshold Angle, in both Bambu Studio and OrcaSlicer, since the two slicers share the same underlying slicing engine and largely the same support settings model.
Support type: Normal versus Tree
This is the single most consequential choice in the whole panel, and it determines the fundamental shape and behaviour of every support the slicer generates for the rest of the print.
Normal supports build straight vertical columns from the build plate (or the nearest surface) directly up to the overhanging area, in a dense grid pattern. They are simple, predictable, and fast for the slicer to calculate. The trade-offs are real: normal supports use more material because the grid fills a large footprint regardless of how much of that footprint the model actually needs, and because the contact area with the model is larger, they leave more surface scarring and are generally harder to remove cleanly. Normal supports are the right choice specifically for flat-bottomed functional parts, brackets with a horizontal overhanging shelf, and anywhere the underside geometry is simple and rectilinear rather than organic.
Tree supports grow as branching structures from the build plate, reaching out to touch only the specific points on the model that actually need support, rather than filling a whole grid beneath them. Because the contact area is deliberately minimised, tree supports leave less surface scarring and tend to snap away more cleanly, which is why they are the standard recommendation for miniatures, figurines, busts, and anything with curved, organic overhangs where a clean surface for painting or display matters. Tree supports come in three sub-styles worth knowing individually: Tree Slim uses aggressive branch-merging to produce the smallest support volume, compensating for the reduced material with automatically increased wall count and smoother branch geometry — a good default for most models. Tree Strong takes a more conservative merging approach, producing thicker, more connected branches that are more robust but noticeably harder to remove — reach for this specifically when Tree Slim supports have been failing or collapsing on a genuinely demanding overhang. Tree Organic produces the most naturalistic, freely-branching structure with aggressive merging, and is the go-to for complex curved miniature geometry under about 100mm tall, where the organic branch pattern navigates around fine detail more gracefully than a stiffer structure would.
Found in Process → Support → Type. As a starting heuristic: tree for decorative and organic models, normal for flat-bottomed functional parts. If a tall, thin tree-supported model is wobbling or failing mid-print, switching from Organic to the Snug tree sub-style adds stability by keeping the branches closer to the model’s own walls.
Support style: Grid versus Snug
This setting governs how the support footprint is shaped once the type has already been decided, and it is easy to conflate with the type setting above since both affect the support’s overall geometry. Grid style — the default for normal supports — expands and normalises the support region into clean rectangular shapes. This is efficient for the slicer to calculate and produces a predictable, uniform structure, but the expansion means the support footprint is often larger than the overhang actually requires. Snug style does not expand the region at all — it stays tightly aligned to the actual overhang boundary, following the model’s contour rather than normalising to a rectangle. Snug is specifically useful when Grid’s expanded footprint is causing problems: supports appearing in unwanted adjacent areas, extra material use, or supports bridging together where they should stay separate. For functional parts with flat undersides where you want support only exactly where it is needed, Normal with Snug style is a combination worth trying deliberately rather than leaving on the Grid default.
Top Z distance: the setting that matters most for removal
This is consistently identified as the single highest-impact setting for how easily supports come off afterward, and it is worth understanding exactly what it controls. Top Z distance sets the vertical gap between the top of the support structure and the bottom surface of the model it is supporting — effectively a small air gap rather than the support printing in direct contact with the model.
A larger gap means the support and the model never quite touch, which makes separation trivially easy but leaves a rougher, more sagged underside on the supported surface, since there is a genuine unsupported air gap for that first layer to bridge across. A smaller gap — down to 0, which produces a completely sag-free supported surface — bonds the support and model together more firmly, producing a better surface finish but making the supports genuinely harder to snap away cleanly afterward. The commonly recommended starting value for PLA is around 0.2mm, which balances a clean enough surface finish against supports that still separate without excessive force. For PETG specifically — which is stickier and bonds more aggressively to whatever it prints against — increasing Top Z distance to roughly 0.25mm is worth doing deliberately, since PETG supports on a PETG model are notoriously difficult to remove at PLA-appropriate settings.
Found in Process → Support → Top Z Distance. If supports are coming away too easily and leaving a poor surface finish underneath, reduce this value. If supports are fused on hard enough to damage the model when removed, increase it.
Interface layers: the buffer zone that does double duty
Interface layers are a distinct, denser set of layers printed between the main body of the support structure and the model surface — visible in the layer preview as a different colour from the rest of the support. Their job is twofold: they improve the surface quality on the underside of the supported area, and they provide a defined, consistent breaking point that makes support removal more predictable than if the support material simply merged straight into contact with the model.
Two layers of top interface is the commonly recommended default, and it is worth understanding the trade-off in both directions before adjusting it. More interface layers improve underside surface quality and stability but make the supports bond more firmly and become harder to remove — if supports are stuck on too aggressively, reducing the interface layer count (alongside increasing Top Z distance) is one of the first things worth trying. Setting bottom interface layers to zero specifically is flagged as actively detrimental by Bambu’s own documentation: the first layer of the support becomes a sparse line pattern directly against the plate or model surface, which is a poor foundation for everything printed above it. Do not disable bottom interface layers entirely even when trying to make supports easier to remove elsewhere.
Found in Process → Support → Top Interface Layers and Bottom Interface Layers, set independently from each other.
Support density and base pattern
Support density controls how tightly packed the support infill itself is — a separate consideration from the interface layers discussed above, which sit specifically at the support-to-model boundary rather than throughout the whole support structure. Lower density (commonly recommended around 10-15% for standard use) uses less material and produces supports that are genuinely easier to remove, but provides less rigidity for very heavy or large overhangs. Higher density is appropriate specifically for substantial overhangs or large unsupported areas where the support structure itself needs to resist sagging or collapsing under the weight of what it is holding up, at the cost of being noticeably harder to clean off afterward.
Base pattern governs the actual infill geometry of the support body. The Default option lets the slicer choose automatically based on support type and material — typically rectilinear for normal supports, hollow for tree supports — and is the sensible choice for most models. Rectilinear runs in a single consistent direction and is the standard default for normal supports; Rectilinear Grid alternates direction on every layer for meaningfully better strength at the cost of being noticeably harder to remove. Reach for Rectilinear Grid specifically when a support has been failing structurally at default settings, not as a general-purpose upgrade.
Support painting: manual control where automatic detection falls short
Bambu Studio’s automatic overhang detection is genuinely capable for the majority of models, correctly identifying problem geometry without any manual input. Where it falls short is on models with internal cavities, delicate surface detail that automatic support would mar, or areas where a designer’s intent is not obvious from geometry alone — a decorative texture you specifically want to keep clean even though it technically qualifies as an overhang, for instance.
Support painting solves this by letting you override the automatic decision on specific areas of the model surface directly. Left-click paints an area purple as an enforcer — forcing support generation there regardless of what the threshold angle setting would otherwise decide, useful when a specific feature needs support but sits just under your threshold angle, or when automatic detection simply missed something. Right-click paints an area red as a blocker — preventing support from generating there at all, useful when automatic generation is placing support somewhere it will mark a surface you want to keep clean, or generating support inside an internal cavity where it would be physically impossible to remove afterward. Four painting tools are available (circle, and several others depending on version) for controlling brush shape and precision. As of Bambu Studio 1.10.0, painting on vertical surfaces is also supported specifically, which is useful for adding stabilising support to tall, thin sections of a model that are at risk of wobbling or snapping during printing even though they are not technically overhanging.
Found via the paintbrush-style Support Painting icon in the top toolbar, active once a model is selected. Painted areas display in green in editing mode; the model itself renders in grey for contrast while painting is active.
On Build Plate Only: a small toggle worth understanding
This setting restricts supports to growing only from the build plate itself, never from the model’s own surface partway up. The benefit is reduced surface scarring, since supports rising from the plate touch the model at fewer, more predictable points than supports that might otherwise sprout from an intermediate surface of the model itself. The genuine risk, worth being aware of before enabling this reflexively: some models have overhangs that a plate-only support genuinely cannot reach without an impractically tall, thin column running the full height of the print. If the slicer cannot reach an overhang because this setting has ruled out the shorter path from the model’s own surface, that overhang may fail unsupported. Use this deliberately on models where it genuinely applies rather than as a blanket default.
Soluble support materials via the AMS
This is a capability specific to AMS-equipped Bambu machines and worth knowing about even if it is not part of the regular workflow here. The AMS allows the model and the support structure to be printed in genuinely different materials within the same job — PLA model with PVA (water-soluble) support, for instance. Soak the finished print in warm water for 30-60 minutes and the PVA support dissolves away entirely, leaving zero contact marks on the model surface regardless of how aggressive the interface settings were. HIPS, soluble in d-Limonene, plays the equivalent role for ABS prints. For any model where the underside surface finish genuinely matters and the standard PLA-on-PLA support compromise is not acceptable, this is the technique that removes the compromise entirely — at the cost of an extra AMS slot dedicated to support material and the soak time afterward.
The material-specific starting points
| Material | Top Z Distance | Notes |
|---|---|---|
| PLA | 0.2mm | Releases predictably at default interface settings on most models |
| PETG | 0.25mm | Bonds more aggressively than PLA — increase Z distance, consider reducing interface layers to 1 |
| ABS | 0.25mm | Shrinks as it cools, which can tighten the support bond unexpectedly — remove supports while the part is still warm where practical |
Always check the layer preview before committing
Regardless of which settings are chosen, the single habit worth adopting universally is checking the layer preview before sending any support-heavy print. This is where a Bottom Z distance configuration issue, a support generating in an unreachable internal cavity, or an overhang the slicer has missed entirely all become visible before they cost print time and filament rather than after. The support system in Bambu Studio is genuinely capable once you understand what each setting is actually doing — the goal is never “make the supports perfect,” since some compromise between removability and surface quality is inherent to the whole concept, but rather choosing the specific combination of type, style, distance, and density that suits the specific model in front of you.