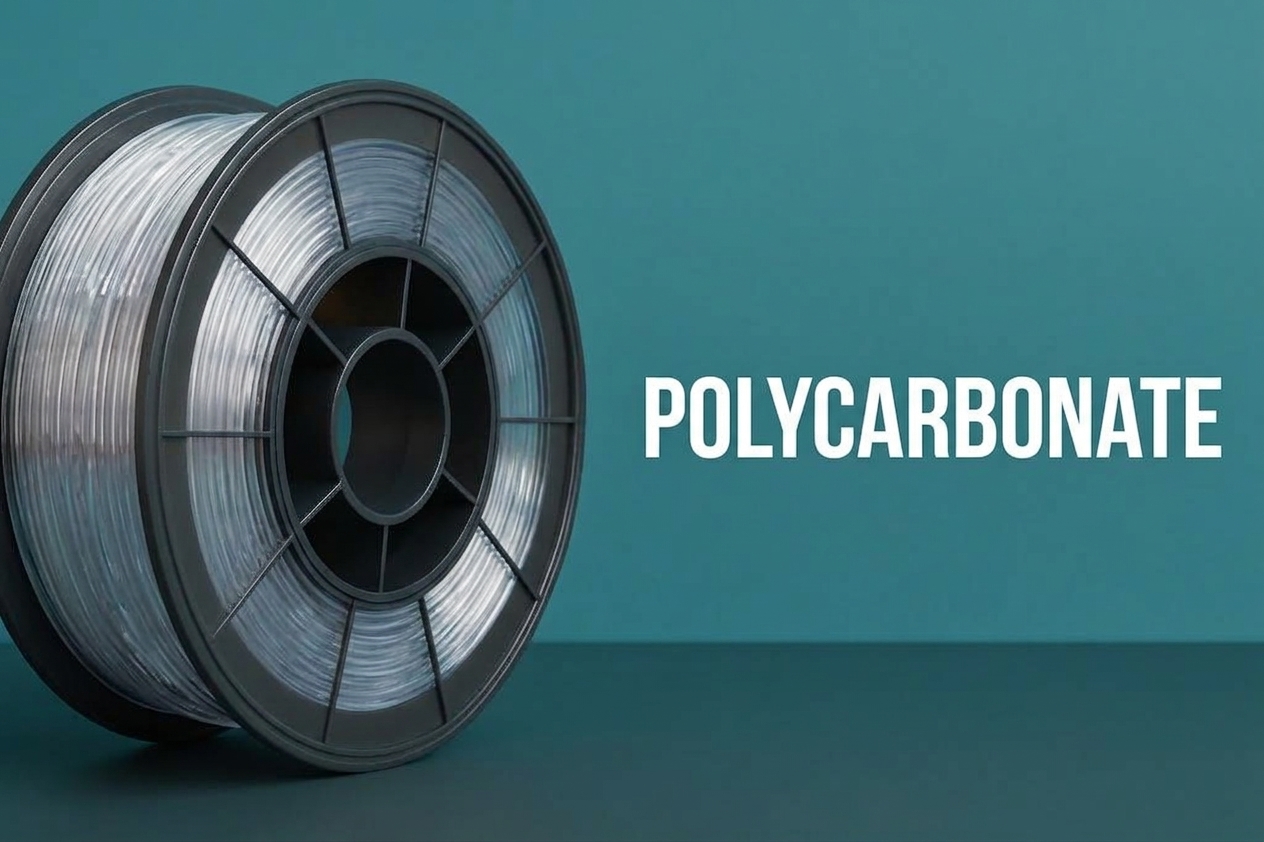
Polycarbonate is the material that appears in bulletproof glass, riot shields, and aircraft canopies, and that pedigree tells you almost everything you need to know about why it gets reached for in 3D printing. It has one of the highest impact strengths of any printable thermoplastic, a heat deflection temperature comfortably above 100°C, and — in some formulations — genuine optical clarity that few other filaments can match. It also sits, alongside the nylon covered in the nylon materials post, at the demanding end of what a desktop FDM printer can reasonably attempt. This post covers what PC actually is, what it demands from your hardware, how to print it properly, and where it genuinely earns the difficulty.
What PC actually is
Polycarbonate is an engineering-grade thermoplastic prized for exactly the combination that makes it useful across industrial applications generally: exceptional impact resistance, high heat tolerance, and genuine mechanical strength, with pure, unpigmented PC also being optically clear. Most 3D printing filament sold as PC is pigmented rather than clear, since additives and colourants are what give manufacturers the ability to differentiate products and improve printability, but the underlying polymer’s clarity is a real and useful property for anyone specifically seeking it out in a natural or clear-grade filament.
The global PC filament market reached roughly $526 million in 2024 and is projected to keep growing at close to 8% annually, which reflects genuine industrial demand rather than a niche hobbyist curiosity — PC is a real engineering material that happens to now be printable on capable desktop hardware, not a specialty product invented for the 3D printing market.
Pure PC versus PC blends: the decision that determines whether this is realistic for you
This is the single most important practical decision in this entire post, and it deserves to come before any settings table. Pure PC is genuinely one of the most demanding FDM materials available — nozzle temperatures of 260-310°C, bed temperatures of 100-120°C, and mandatory heated-chamber printing, and it is consistently described across every source researched for this post as not recommended for beginners. PC/ABS blends exist specifically to soften that difficulty: they print roughly 30°C cooler than pure PC, warp considerably less, and retain most of the thermal and impact benefit that makes PC worth reaching for in the first place. The consistent advice across the community is to start with a PC/ABS blend if you have not printed pure PC before, and only move to the pure material once you have a properly enclosed, heated-chamber setup and genuine confidence in managing it. PC-CF (carbon-fibre-reinforced PC) is the third common variant, adding the dimensional stability and abrasive-nozzle-wear trade-off covered in the abrasive filaments guide on top of PC’s existing demands.
Why the enclosure and heated chamber are non-negotiable
This connects directly to the same “mandatory, not optional” framing established in the nylon post, and if anything the case for PC is even stronger. PC has one of the highest thermal shrinkage rates of any common 3D printing material, and it is genuinely sensitive to sudden temperature changes during cooling. An enclosure keeps the ambient chamber temperature stable and prevents draughts from causing layer delamination — without one, warping and layer splitting are described consistently as “almost guaranteed” rather than merely likely. The specific target is a sustained chamber temperature of at least 45-60°C, which is a meaningfully warmer requirement than ABS or ASA typically need from a passive enclosure, and which pushes PC firmly into genuinely active-heated-chamber territory rather than something a simple passive tent can reliably deliver.
The mechanism behind this is worth understanding properly because it explains a specific and genuinely alarming failure mode that catches new PC printers off guard: the shatter effect. A PC print that looks completely solid and well-formed can crack or split suddenly when loaded or dropped, sometimes considerably later than the print session itself. When a part cools in an environment that is too cold, the outer layers cool and contract rapidly while the interior is still warm and soft, locking significant internal residual stress into the finished structure. The part looks fine. It is not fine — it is carrying stress that a proper thermal environment during printing would never have introduced, and that stress is what causes the sudden, unexpected failure later. This is precisely why the guidance extends beyond just printing inside a warm chamber: when a PC print finishes, do not open the enclosure immediately. Let the whole chamber cool slowly over 20-30 minutes rather than exposing a hot part to sudden ambient air, since rapid cooling at this final stage causes the same thermal shock that ruins the print during the build itself.
For the A1 and A2L specifically, the position is the same one established in the nylon post: neither machine has an active heated chamber, and PC’s specific combination of severe shrinkage and strict thermal-gradient sensitivity is not a problem a passive aftermarket enclosure genuinely solves, particularly for pure PC on anything beyond a small test piece. If PC printing is a genuine ongoing need, the correct tool is a properly enclosed machine with active chamber heating — the P1S or H-series in the Bambu range, or an equivalent purpose-built engineering printer — rather than forcing an open-frame machine to attempt a material well outside what it was designed around.
The moisture problem
PC absorbs moisture from ambient air within 24-48 hours of exposure — not as extreme as nylon’s near-instant uptake, but fast enough that leaving a spool out overnight in a humid workshop genuinely can ruin the next print. Wet PC is unmistakable once you know the signature: loud popping as trapped water flashes to steam inside the hotend, a surface that foams and turns hazy rather than staying clean, and a collapse in layer strength that undoes the entire reason you chose PC in the first place. Drying at 80-100°C for 4-8 hours is the consistent recommendation across sources, with the higher end of that range and longer duration reserved for a spool that has genuinely been exposed rather than a fresh one straight from sealed packaging. Store unused filament in a vacuum-sealed bag or a proper drybox with active desiccant between sessions, and for long print jobs specifically, printing directly from a dryer that holds the spool warm throughout is meaningfully better than drying beforehand and then feeding from an open holder for hours, exactly as covered in the general filament drying post.
Print settings table
| Setting | PC/ABS blend | Pure PC | PC-CF |
|---|---|---|---|
| Nozzle temperature | 250-280°C | 260-310°C | 260-300°C |
| Bed temperature | 90-110°C | 100-120°C | 90-110°C |
| Chamber temperature (active) | 40-50°C | 45-60°C | 40-55°C |
| Drying temperature / time | 80-90°C for 6-8 hours | 80-100°C for 4-8 hours (up to 12 for heavily exposed spools) | 80-90°C for 6-8 hours |
| Enclosure requirement | Strongly recommended | Mandatory | Mandatory |
| Cooling fan | Minimal — bridges/overhangs only | Minimal — bridges/overhangs only; the warm enclosure should handle most cooling duty | Minimal — bridges/overhangs only |
| Retraction (direct drive) | 0.8-1.5mm, 25-40mm/s | Same as blend | Same as blend |
| Nozzle material | All-metal hotend required | All-metal hotend required | Hardened steel or tungsten carbide mandatory — abrasive |
| Bed surface | PEI-coated spring steel at 100-110°C, or Garolite with a thin glue stick layer | Same as blend | Same as blend |
| Brim / raft | 8-15 line brim recommended | 8-15 line brim, raft for small-footprint parts | 8-15 line brim recommended |
| Post-print cooldown | Let chamber cool 20-30 minutes before opening | Same — critical for pure PC given shrinkage severity | Same |